How to repair fluorescent light bulbs with your own hands
Fluorescent lamps are now used in a variety of applications. The proliferation of LED lights has not been able to remove them from the market. They have many advantages over other lighting devices. However, sometimes there are malfunctions caused by various factors. It is better to study in advance the problems and methods of repair of various lighting fixtures.
The principle of operation of a fluorescent lamp
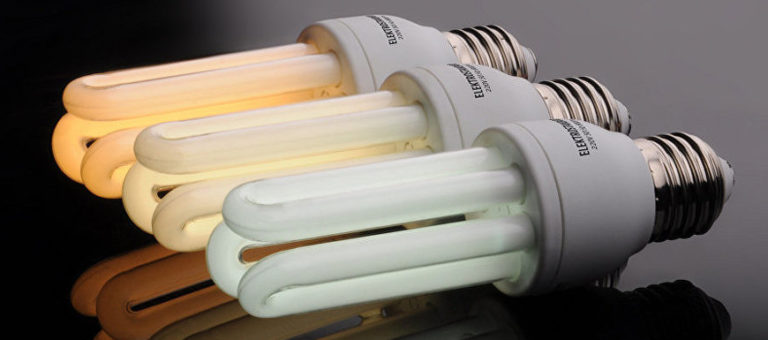
The principle of operation of a fluorescent lamp is simple. A voltage is applied to the contacts inside the tube and electrons are emitted in the inert gas and mercury vapor inside the tube. Radiation appears in the ultraviolet range. The human eye cannot see this glow.
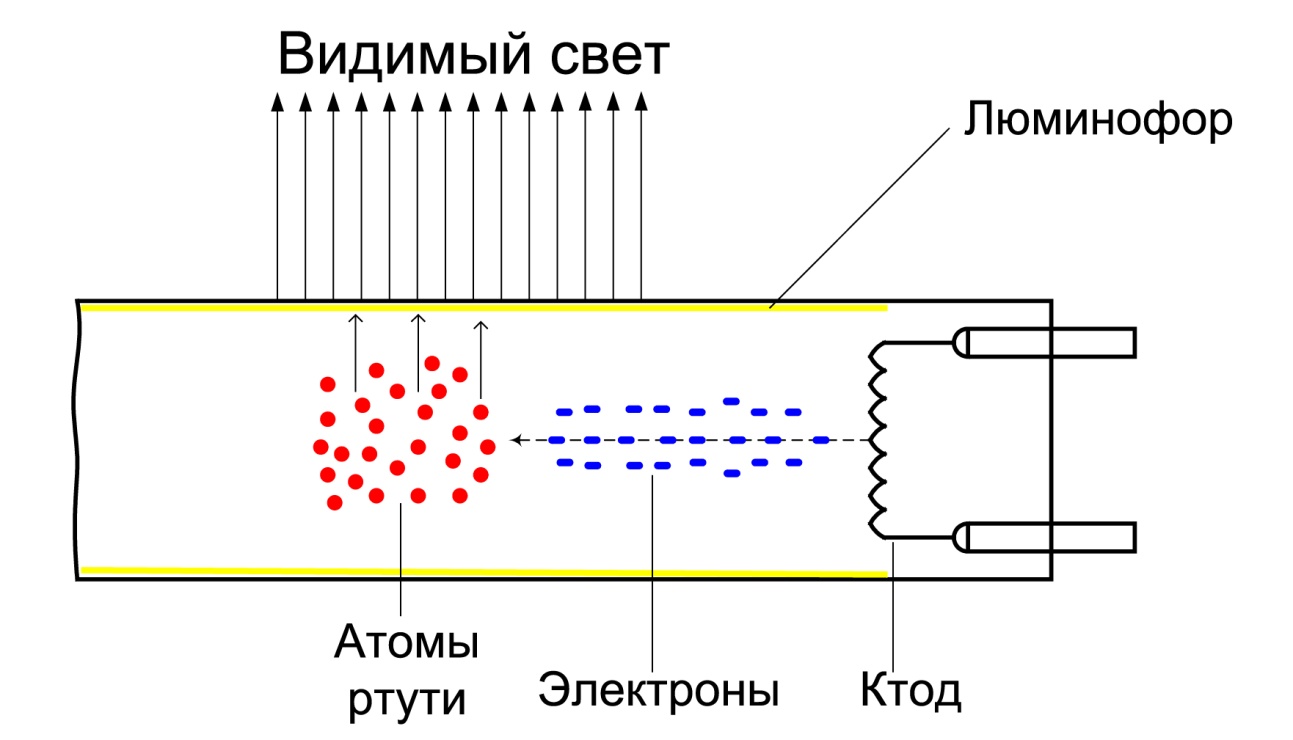
To obtain visible light, the tube is coated on the inside with a phosphor. The hue and temperature of the luminescence depends on its composition.
The functions are controlled by an electronic unit that includes a ballast.
List of faults
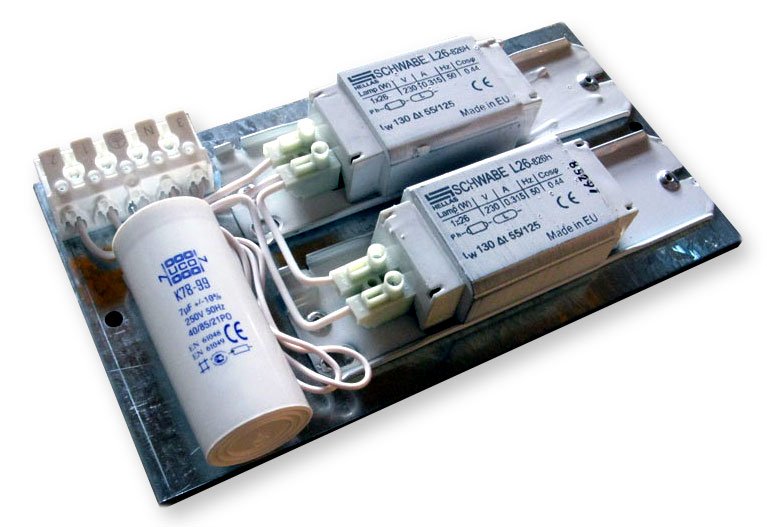
The main control element of any fluorescent lamp is the ballast. It can be electromagnetic or electronic. In the first case, the device includes choke and starter, in the second control is made by other components.
In most cases, the breakdown of the lamp is due to a faulty electronic circuit, aging elements or burnout. Any repair begins with identifying the cause.
Topical video: Options for checking the daylight lamp.
Luminaire with a choke
To test a light fixture with a choke, you can connect a test light bulb to the circuit. If:
- the device does not light - breakage in the ballast, the choke is defective;
- if the device does not light up - there is a short circuit in the ballast; - if the device lights up brightly - there is a short circuit in the ballast;
- the lamp blinks or does not shine brightly enough - the choke is defective.
The choke itself can be open, different windings shorted, turns in one winding shorted, or a faulty magnetic core. Separately, there is a breakdown on the enclosure.
Luminaire with ECG
In such a lamp check the lamp itself, the integrity of the wiring, the serviceability of the socket-holders. If each element is correct, it is necessary to replace the ballast itself.
It often fails when the transistor burns out, which can be seen with the naked eye. If there is no visual problem, use a multimeter to test the contacts.
The weak point in the circuit is also considered a low resistance fuse. Sometimes the cause of the problem is a damaged or blown diode bridge. The lamp in this case does not turn on.
Recommended to watch: Daylight Lamp Repair with EB
Lamp blinking
Traditional incandescent bulbs burn out in a flash and unexpectedly. Fluorescent bulbs wear out differently. They first start to blink when they are switched on, which indicates a change in the chemical composition of the gas inside the bulb. The blinking causes the electrodes to burn out.
It is not uncommon to see blackened areas with fouling. This is almost impossible to correct. However, some simple manipulation can extend the life of the lamp.
Flashing is caused by a faulty ECG or EB. Connect a new light fixture to check.
In some cases blinking is due to a mains voltage drop. This phenomenon should not occur in a functioning device because the ballast stabilizes the voltage.
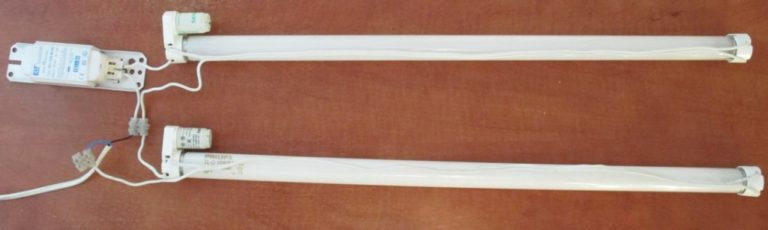
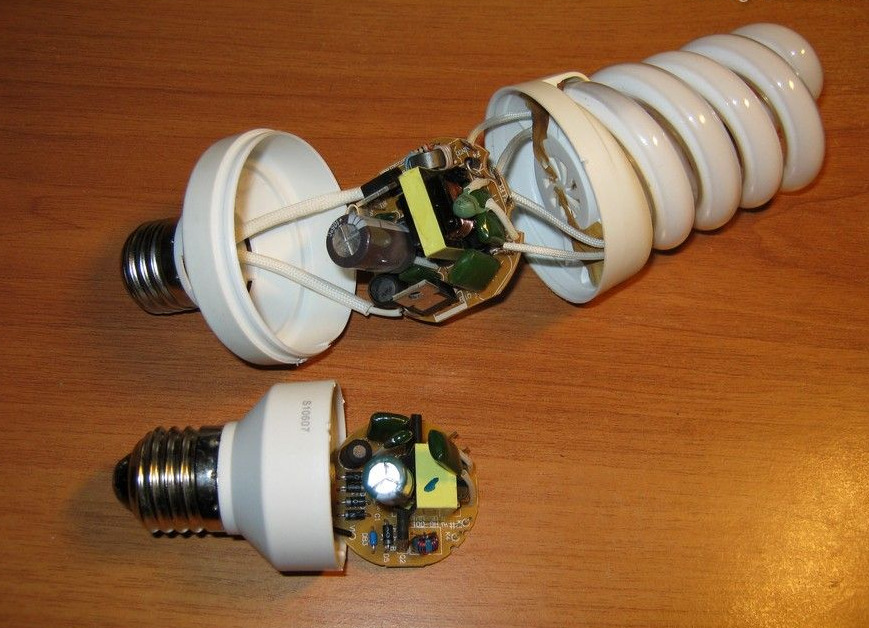
Disassembling the fluorescent lamp
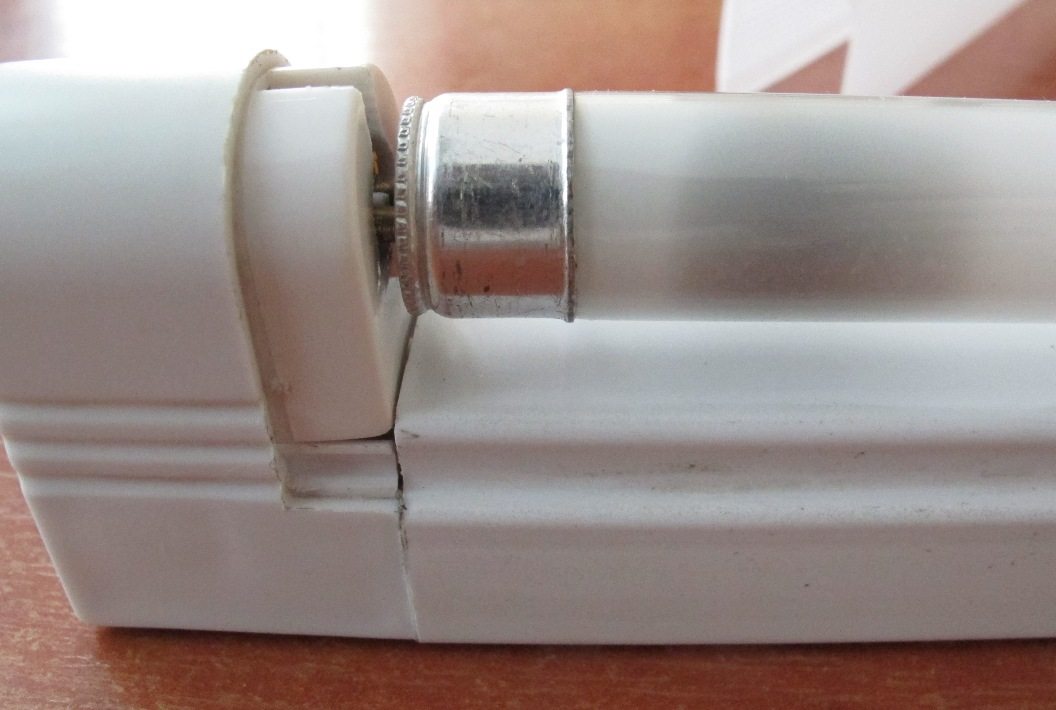
To repair it is necessary to disassemble the electrical appliance. Disassemble the fluorescent lamp at the place where the name of the device and its technical specifications are marked. It is necessary to pick up the housing with an ordinary flat screwdriver.
If you can see darkening on the ends of the bulb, it is better to throw it away. Usually bulbs fail in about 2 years.
Next, test the contacts of the bulb with an ohmmeter. The resistance should be a few ohms and decrease as the power increases.
If the elements are okay, the electronic ballast board should be inspected. The burnout of a component on it is in most cases immediately visible. This is especially true for burned resistors.
Repair process of fluorescent light fixtures
Repair consists of several steps:
- Checking the mains voltage and the quality of the contacts.
- Replacing the bulb with a pre-faulty bulb.
- If the flashing persists, it is worth replacing the starter and checking the choke or completely replacing the ballast.
A soldering iron, multimeter, and screwdrivers will be needed for repairs. An understanding of electronic circuitry and safety is desirable.
Electromagnetic ballast
Repairing a device with a ballast involves:
- Checking the capacitors. Capacitors reduce electromagnetic interference and compensate for reactive power deficiencies. It is not uncommon for them to exhibit current leakage. It is best to check such a fault first to avoid unnecessary cost of expensive capacitors.
- Check the ballast for a breakdown. It is desirable to use a multimeter with the ability to measure the inductance. If a breakdown is detected, change the ballast or supply an electronic equivalent. You can use a new component from the store or a functioning one from another lamp.
Electronic ballast
ELECTRONIC BALLAST may differ in circuitry, but the principle of operation remains the same. The filament is used with certain inductance values, which feed the oscillating circuit. There are capacitors, coils and an inverter with transistor switches.
An oscilloscope or frequency generator is used for diagnosis. Repair begins with inspecting the board and looking for a burned out component. First the fuse is checked, which is often the cause of the malfunction.
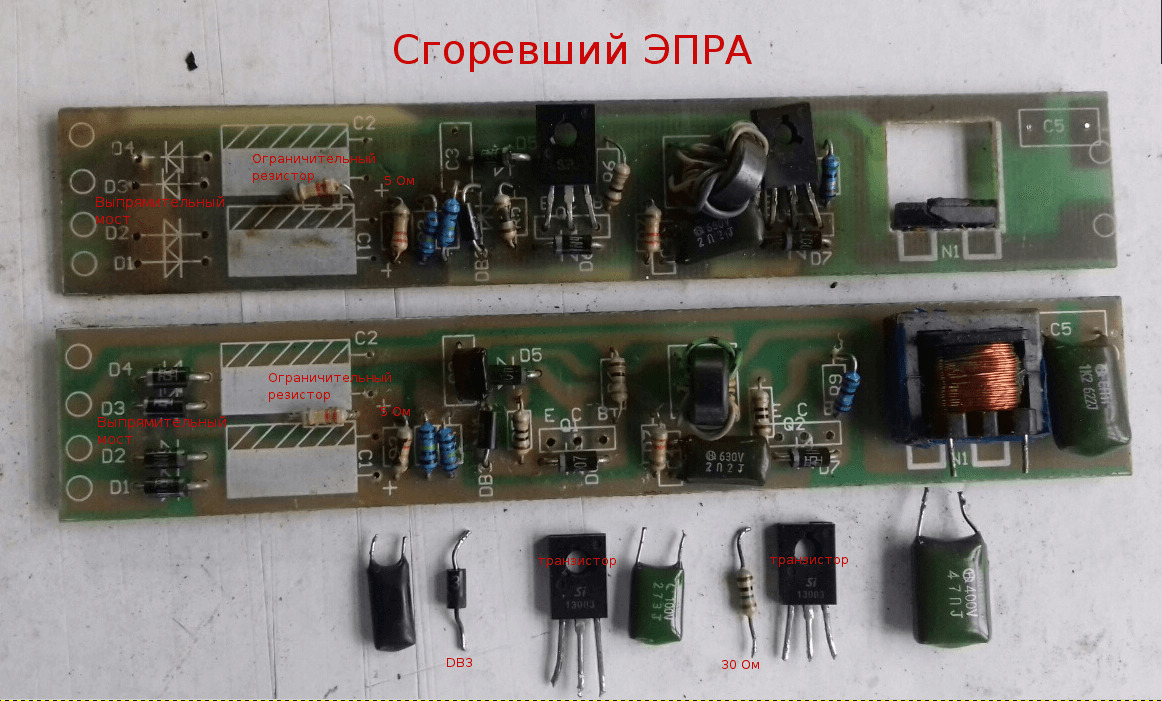
All electronic ballast components can fail. Therefore it is worthwhile to successively check with a multimeter Capacitors, resistors, transistors, diodes, chokes and transformers.
It may be necessary to unsolder the components, because without unsoldering you can only get reliable readings by checking for breakdowns.
Defective components are replaced with new ones. Soldering is done carefully, as components are sensitive to overheating.
Home-Built ECG
Experienced electricians and radio amateurs switch from standard ECGs to handmade ECGs. In this case, the repair is not much different from fixing a purchased electronic ballast.

How to extend the life of a fluorescent lamp
Many radio amateurs have learned how to extend the life of blown daylight bulbs by starting them by increasing the voltage applied to the electrodes.
This helps to produce a voltage peak of over 1000 V when turned on. This is enough to start the cold ionization of the mercury vapor and create the necessary discharge in the gas environment. The result is a stable glow even if the coil burns out.
A resistor or incandescent lamp can be used to limit the current. This approach avoids quick burnout fluorescent tube during operation. The winding of the resistor can be made by yourself with nichrome wire.