How to repair light switches at home
At a European electrical trade fair in the late 19th century, visitors were fascinated by a light switch. Inexperienced onlookers were enthralled by the simplicity of the control - with a single movement, the lights could be turned on and off. It has been a long time, the household switch has become a familiar household item in the apartment, at work and does not cause surprise. This accessory can be seen everywhere. Sometimes such a device fails, you can try to repair it, although the cost of the device is inexpensive.
Faults of light switches and their signs
If the switch is broken, it is not difficult to understand it. He himself will let you know that he needs repair. He will attract attention with obvious signs of malfunction, the main of which - the light stopped turning on. But this final stage may be preceded by:
- keys or buttons jamming;
- their fuzzy locking in the end positions;
- Lights turning on "repeatedly";
- arcing when switching;
- Flickering of lights.
The first two faults are most likely caused by failure of the mechanical part of the switching element. The last two are 99% likely to indicate a faulty contact group or terminals. The third fault can be caused by both. There may also be an inability to turn off the light from the on position. This can be caused either by a mechanical breakdown or by the contact group welding due to an electrical arc.
From the video it will become clear what to do if the switch cracks when the light is on.
Probable causes of failure
The cause of failure of the mechanical part can be natural wear and tear. Eternal nodes and devices do not happen, but the better the quality of construction of the switch, the better the materials used in its manufacture, the more reliable its work and longer life.
Contact group failures are also caused by wear on the contact surfaces, but in order to do so, the unit must work long enough and the mechanical components wear out sooner. Most often the device stops working due to burning of the contacts, which may be overloaded, or the powerful load is strongly inductive in nature. Welding of the contacts in a domestic circuit is unlikely, but is possible when the switching element is short-circuited.
| Device type | Number of keys | Maximum switchable current, A |
| ABB 2CLA220100N1102 Zenit | 1 | 16 |
| EKF Murmansk | 2 | 10 |
| UNIVersal Sevil | 2 | 10 |
| ProConnect | 2 | 10 |
| Schneider Electric ATN000112 AtlasDesign | 1 | 10 |
Step-by-step repair
Switches don't cost that much and don't break down that often. Periodic replacement of the unit is always available. But there are situations when it is necessary to repair this particular light switch. For example, in cases where stores are temporarily unavailable or for aesthetic reasons (When it is difficult to find a switch that matches the interior). In this case, you can try to repair the electrical device.
Dismantling
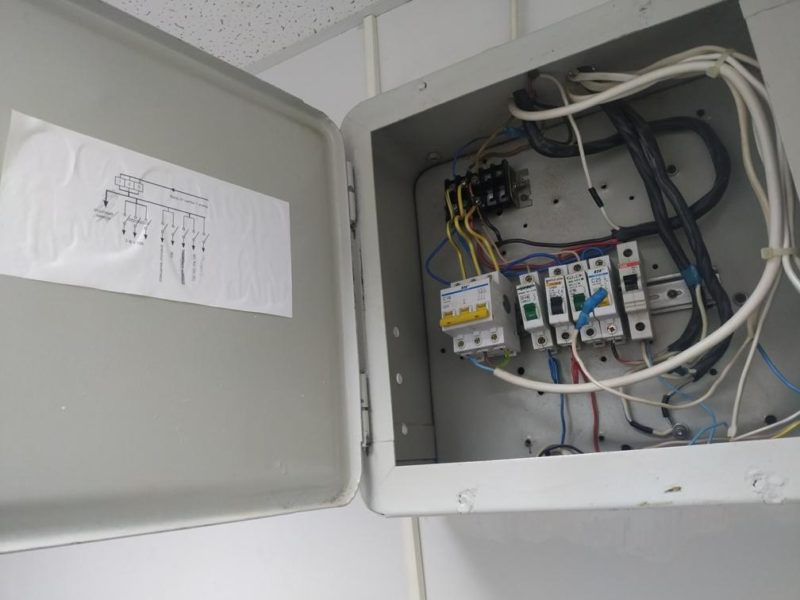
The first step in the repair is to remove the unit from its installation site. Before removing the device, it is necessary to de-energize the lighting network. The switch is in most cases located in the switchboard. You can find the right one by looking at the diagram, plastered inside the switchboard or by the signatures.
Danger! After turning off the circuit breaker in the switchboard, you must use a tester or indicator screwdriver to check the absence of voltage at the place of operation. Do not trust the schemes or labels on the circuit breakers! They can be erroneous.
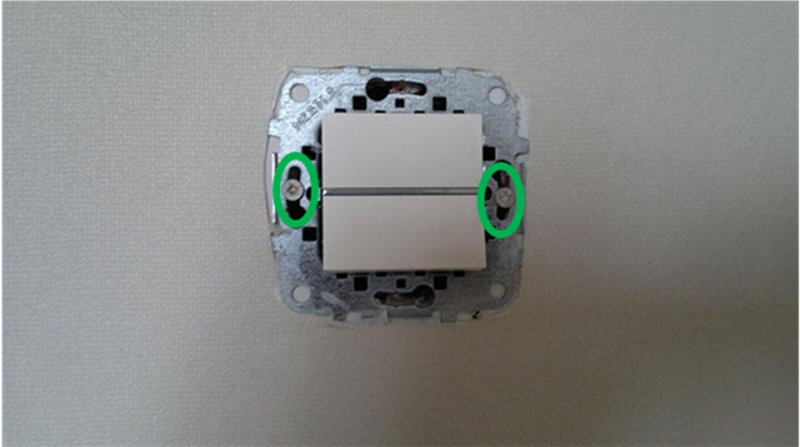
Next, you must remove the keys and gain access to the terminals and screws of the release blades.

The terminal screws are to be loosened, the petal screws are to be loosened as much as possible. After that the switching element must be carefully pulled out in order not to damage it and the wires to which it is connected. If the aluminum wire breaks off, there will be a lot of trouble.
Some machines are attached to the wall with screws. They have to be unscrewed.
Important! Before you disassemble the switch, you must make sure that the fault is in this node. You must rule out faulty lighting fixtures (by replacing bulbs, etc.), poor contact at the terminals due to loose bolt connections (make a pull-through), burned or broken outer wires (especially for aluminum wiring).
An example video will help with disassembly of switches.
Pre-diagnostics
After that, you should once again make sure that the switch is working or malfunctioning. Check the mechanical part by turning the unit on and off several times. If there is jamming, lack of clear fixation it is necessary to disassemble the switch and look for damage.
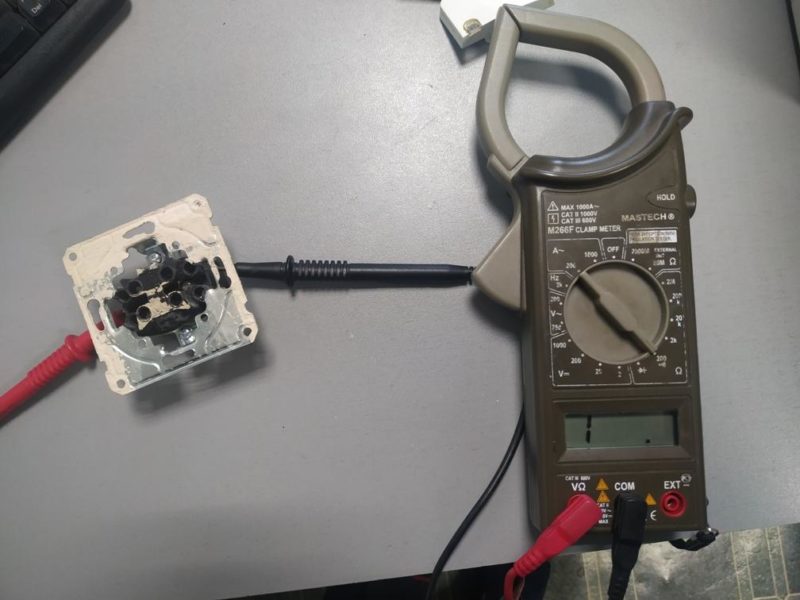
The condition of the electrical part can be checked with a multimeter. It should be connected to the terminals of the assembly. By turning the switch on and off, make sure that the resistance is close to zero when the switch is on and infinite when it is off. If a fault is found, you will have to disassemble the unit further.

To remove the sliding mechanism with terminals and contact group, you need to bend the holders on both sides and remove the block.

To get to the contacts, you must squeeze the plastic latches with a thin screwdriver or knife.
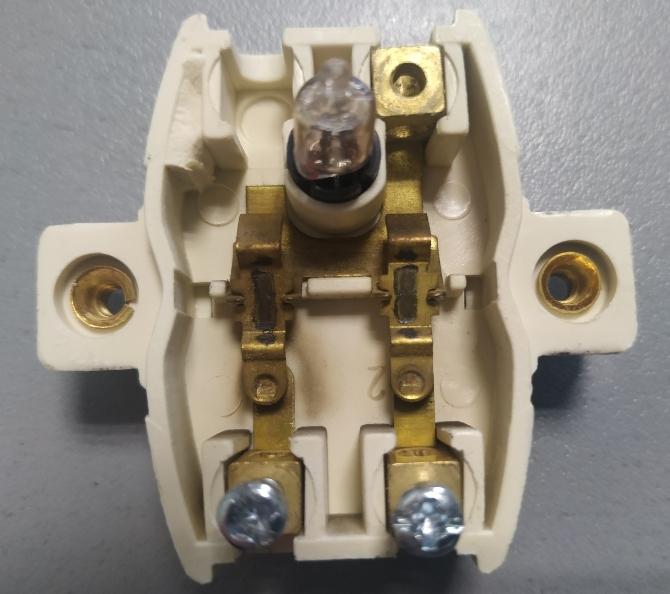
After removing the cover, the contact group with the moving and fixed contacts is accessible. They should be inspected for damage or burning.
Electrical Repair
If soot is found on the contacts, it must be cleaned off with a screwdriver, a knife, or better yet, a fine emery cloth.
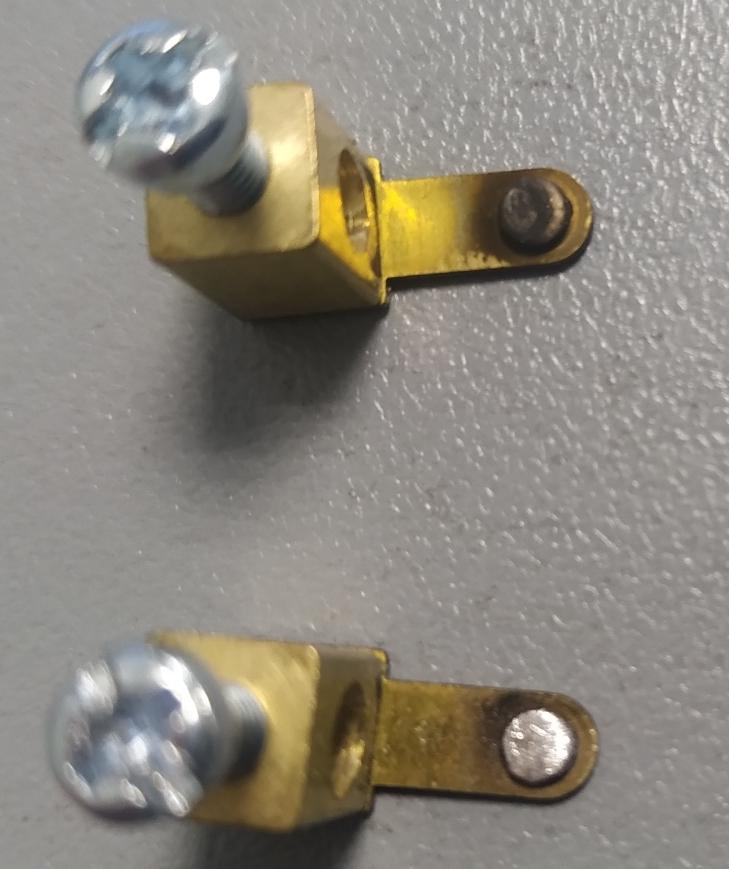
The photo shows an example of contacts before and after cleaning.
Repairing the mechanical part
If something is broken in the mechanics, the problem can only be fixed by replacing the assembly. But spare parts for switches are not sold separately. In this case, a donor device will help. The same applies to the electrical part - the design of the terminals does not always allow for cleaning, and in some cases you will need to replace them. Also, mobile and fixed contacts may need to be replaced (in case of melting or serious burning).
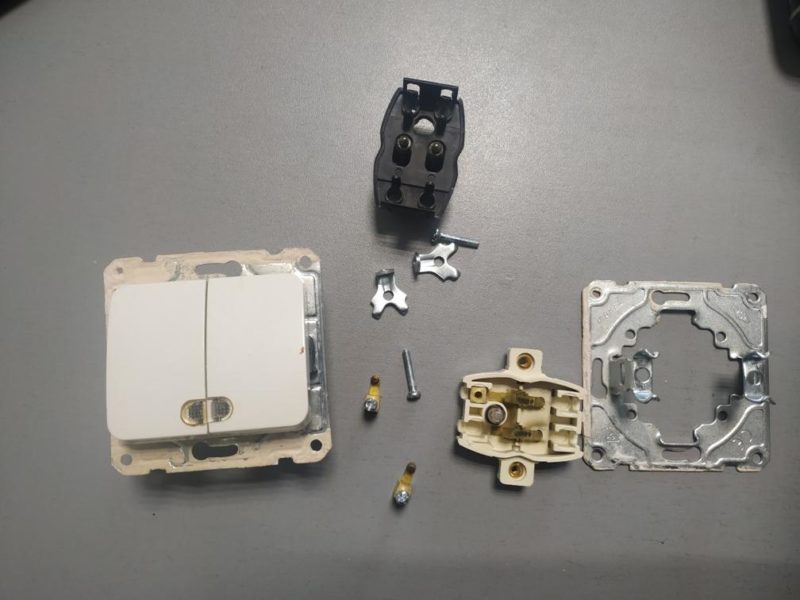
Two defective switching elements can in many cases be made into one.
Reassemble the unit in reverse order. Before installing in place it is necessary to check again necessarily the absence of voltage on the supply wires (it can appear due to unauthorized activation by strangers).
Repair of other types of switches
Above we discussed the disassembly and repair of the two-key switch. The one- and three-way switches have a similar design, so after reading the step-by-step instructions, there should be no problems with their repair. You can see that the one-key switch shown in the figure differs from the two-key switch only in the combined (and not separate) moving strip of the decor strips is combined (not separated). And it is disassembled in the same way.
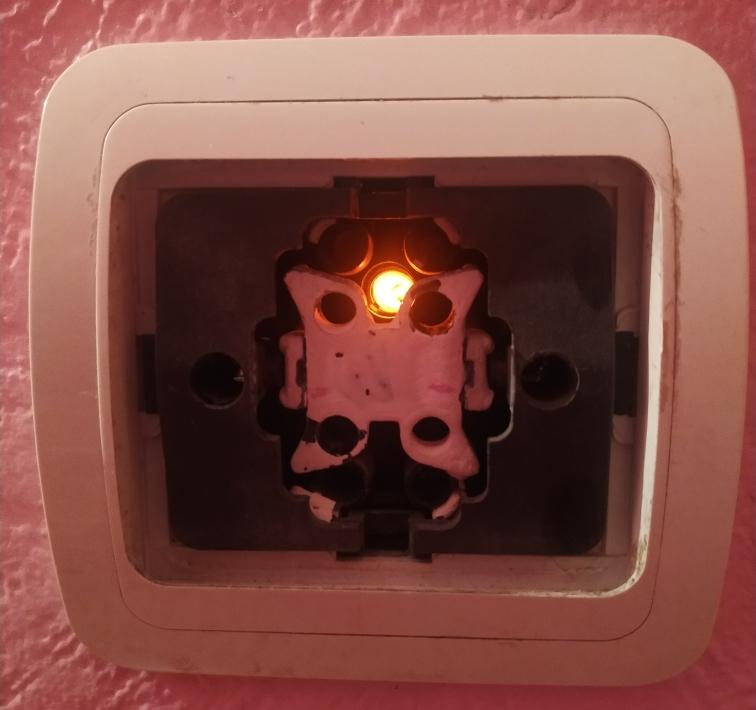
You should only keep in mind that the design of devices may vary slightly from manufacturer to manufacturer. But there are other types of household switching elements.
Older types of switches
Somewhere you can still find devices of older types. In addition to the design, they differ from the modern way of fastening (using only unclamping blades) and a more repairable design of the terminals.
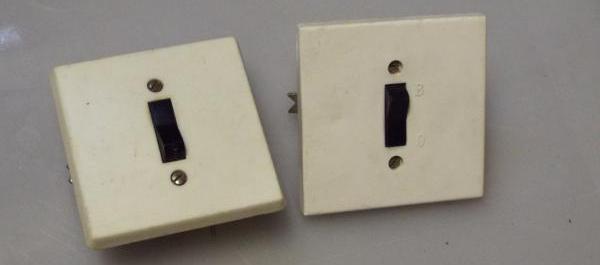
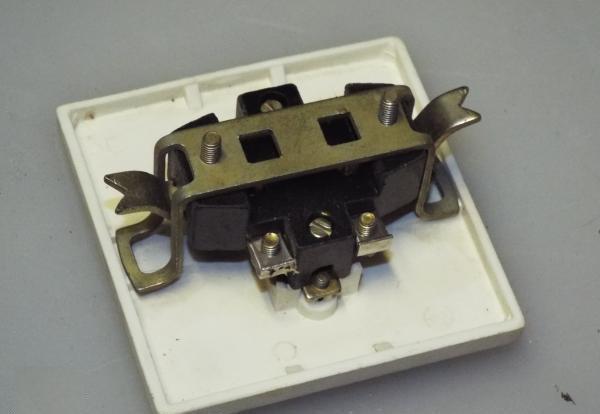
If such a device fails, it does not make much sense to repair it. But sometimes such a switching element can serve as a unique element of the interior. Therefore, you can try to restore it, creatively using the given instructions. To do this, you must remove the keys or decorative panel, unclip the paddles, loosen the terminals and pull out the switch. Only the contact group and, in some cases, the terminals can be repaired by stripping. A donor will be difficult to find. The same applies to even older devices such as rotary switches or pushbuttons.
Dismantling a switch with a dimmer
Switching devices that are combined with dimmers are gaining popularity - dimmers. They have a rotary or rotary-push design. The first turn off the light in the position of minimum brightness - to do this, you need to turn a round button in the same direction. Rotary pushbuttons turn the light off in any position by pressing the rotary knob.
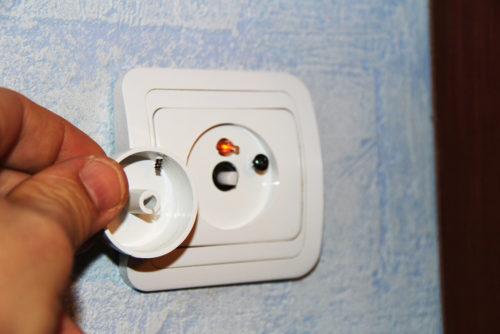
To disassemble it is sufficient to remove this handle. Under it you will find a self-tapping screw. If you unscrew it, you can remove the decorative panel and gain access to the fasteners.
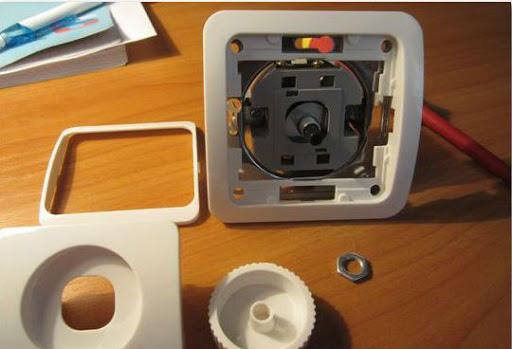
Further disassembly is similar to an ordinary switch.
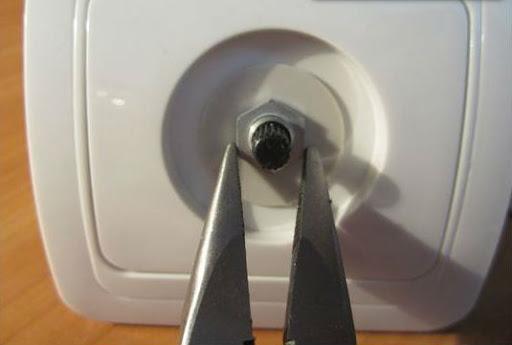
There are other variants of the construction. They are disassembled in a different way.
Repair of such a switch is quite difficult. Restoring the brightness control is beyond the scope of the review. And the contact group is not always accessible. But if you manage to get to it, you can try to repair such a light switch by stripping the contacts.
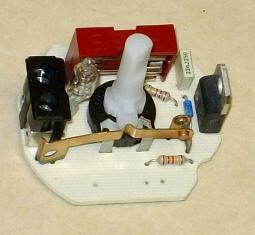
The same fully applies to touch-sensitive devices, only their device is more complicated. Repairing light switches is unlikely to bring a serious economic effect. But there are situations when you can't do without it. Yes, and fascinating occupation, combined with the creative development, is also worth a lot.