How to make a quartz lamp
UV radiation is used in homes and hospitals for disinfecting rooms (rooms, hospital wards, etc.). In stationary conditions, industrial quartz lamps are used as a source of UV. Such devices are not always available in the home, so there are situations when you need to solve the question of what to replace the lamp and how to make it yourself.
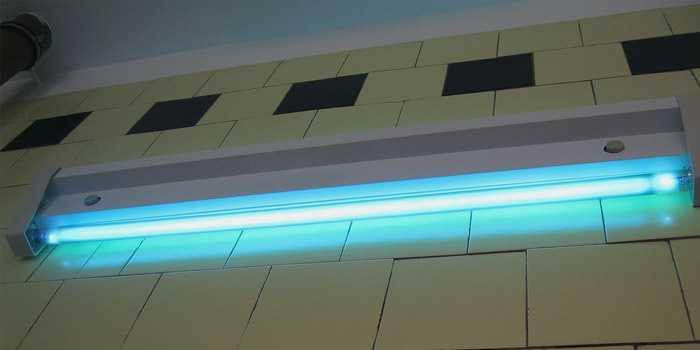
What to replace the UV lamp at home
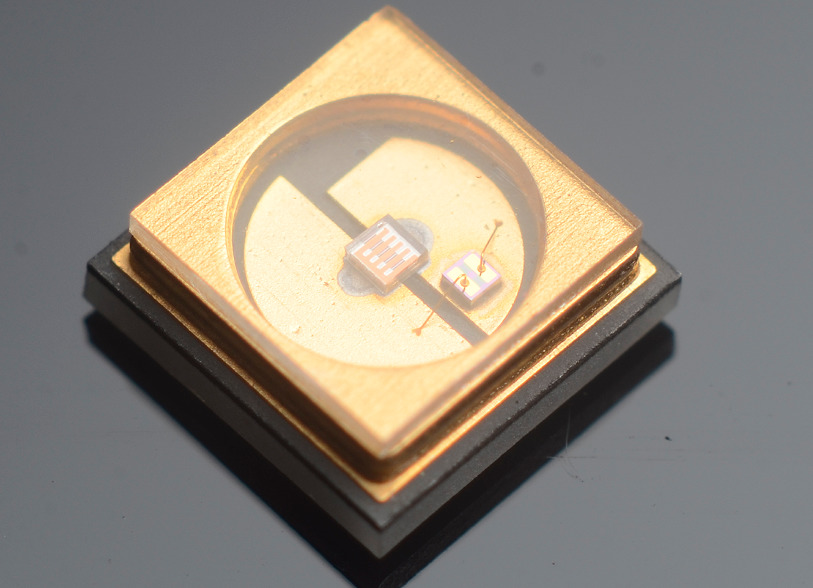
It is impossible to make a quartz lamp at home, but getting a homemade source of disinfecting radiation in other ways is quite realistic. Market lighting now steadily seize LED lights. Different types of emitting elements of this class work in a spectrum from soft ultraviolet to infrared. It is possible to assemble a UV-band light from LEDs. But this way has a significant disadvantage - the small power of emitters of this type and their relatively high cost. Since the disinfection of the premises requires a source of sufficiently high intensity, such a path would be expensive.
Also there will be little effect from visible light sources equipped with light filters - household LED flashlights or cell phone "flashes". At home it is impossible to make a filter with good characteristics (high level of UV transmission in the desired spectrum band), and this class of flashlights belongs more to the category of toys. Practically they can be used only as currency detectors, etc.
A good starting point for a home ultraviolet source would be a DRL 250 discharge lamp. Luminaire of such power has an optimal intensity of radiation for a medium-sized room. Depending on conditions, other lamp sizes can also be used. Important for the overview parameters of discharge lamps are summarized in the table.
| Type | Power, W | Socket type |
| DRL-125 | 125 | Е27 |
| DRL-250 | 250 | Е40 |
| DRL-400 | 400 | Е40 |
| DRL-700 | 700 | Е40 |
| DRL-1000 | 1000 | Е40 |
Other standard lamp parameters such as color rendering index, luminous flux, etc. are irrelevant in our case.
How to make a quartz lamp from a CRL
Before you make a germicidal lamp from gas-discharging CRL, we need to understand how the donor lamp is designed.
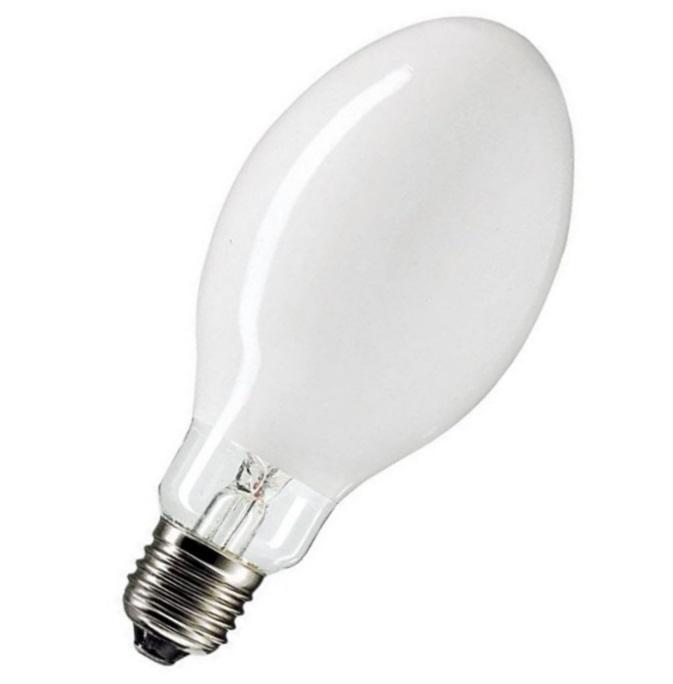
Externally, the mercury lamp is not much different from a normal incandescent lamp - the same standard threaded socket and glass bulb. Catching the eye is the difference - the cylinder is not transparent, and covered inside with a white substance - a phosphor. This substance begins to glow under the influence of ultraviolet light. To initiate the glow, there is a source of UV light inside the bulb. This is a tube of quartz glass - it withstands high temperatures. The bulb is hermetically sealed and contains the main and auxiliary electrodes. Inside is mercury in a liquid state, as well as a small amount of mercury vapor.
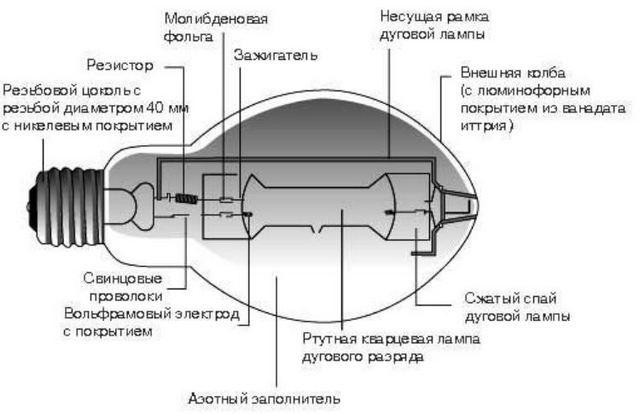
At the moment of activation, an initial discharge flashes between the main electrode and the ignition electrode - due to the small distance between the elements. The initiating system begins to heat up. As the temperature increases, the liquid mercury begins to change to a gaseous form, and when a certain concentration and metal vapor pressure is reached, a discharge occurs between the electrodes. The ignition time depends on the ambient temperature and can range from 8 to 15 minutes.
At the end of heating the system begins to emit a glow, the spectrum of which captures the visible part of the spectrum in the blue-green region and the UV region. The UV radiation causes the phosphor of the main bulb to glow red, and the visible color of the initiating unit complements the glow of the large bulb to white light. The space between the inner bulb and the ultraviolet light source is filled with an inert gas (nitrogen).
WATCH how to make a stand for a quartz lamp.
To make an ultraviolet from such a lamp, it is enough to remove the upper bulb. To do this, you need to wrap the lamp in a thick cloth and carefully break it. It should be done so that the inner unit is not damaged. The inside of the glass is covered with a powdery phosphor, so it is not recommended to carry out such an operation indoors. It must be done outdoors or in a well-ventilated workshop.
Important! The cylinder is under pressure, therefore you must take measures to completely avoid glass splinters scattering.
Next, you need to remove the remains of the bulb - and the homemade UV lamp is ready.
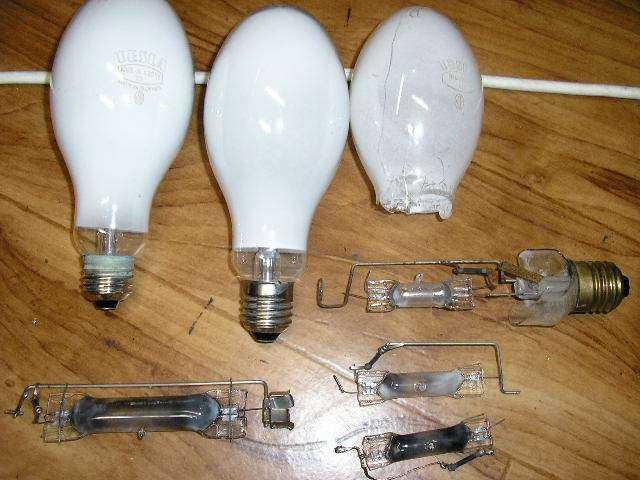
You can include it in the network according to the usual scheme for such devices.
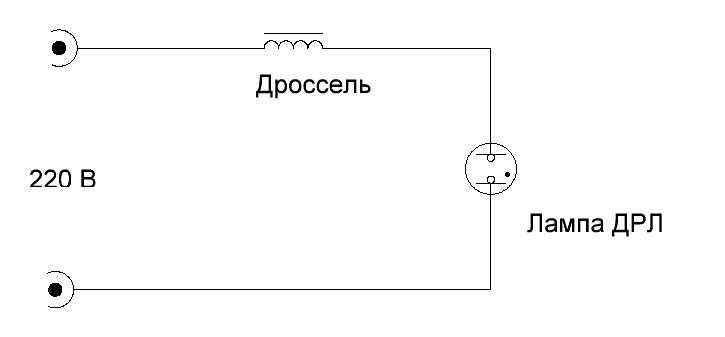
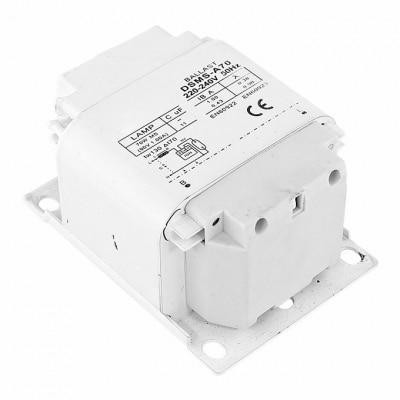
Important! During the initial heating of the lamp current consumed by FLD can reach a high value, so you can not include the lamp in a domestic single-phase 220 V network without the choke! Before switching on, make sure that the ballast is rated for the rated power of the luminaire.
This method of obtaining a home source of disinfecting radiation has its disadvantages, the main of which is the low bactericidal efficiency. This is associated with a spectrum of radiation that is not optimal for such activity. But there are also advantages, among which are cheapness and ease of production.
Video: Step by step instructions for making a lamp.
Rules of safe use of homemade lamp
In small quantities, ultraviolet has a beneficial effect on the human body, and in certain cases it is necessary - vitamin D without UV radiation is not synthesized. But the ultraviolet glow has not only beneficial properties. UV in excessive doses has a harmful effect:
- causes skin aging, intensive exposure leads to burns, prolonged exposure can cause cancer (prolonged exposure to UV radiation is especially dangerous for people with fair skin);
- in exposure to eyes can cause burnsIn the eyes it can cause burns, and in prolonged exposure promotes the development of cataracts.
Therefore, when quartz treatment of rooms homemade or industrial device should take protective measures.
- The most radical way - A lamp in a stationary version, or with a separate socket. The switch must be moved outside the room. Before disinfecting, remove people and animals from the room. This is the safest method, but it involves work on the transfer and installation of electrical wiring.
- Another way - Use a portable light fixture in an enclosed form. With a lamp shade that covers a small sector in which the operator must hold while manipulating the lamp. After turning it on, you have to leave the room, sticking to the darkened area. This is less time consuming than rewiring, but the disadvantage is an enclosed area in which disinfection does not occur.
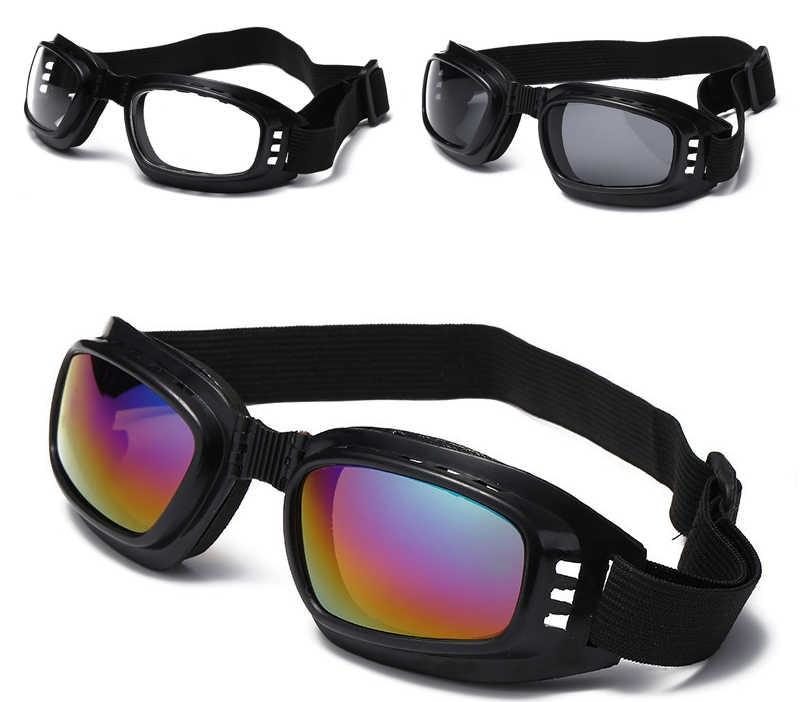
- Use of protective equipment. Skin is effectively protected by ordinary clothing of sufficient density. UV does not penetrate through the fabric. Hands can be protected with gloves - regular or medical rubber gloves. Use goggles to protect your eyes. Glass lenses (with or without dioptres) provide a good degree of protection. Plastic products protect from UV much worse. The level of absorption depends on the plastic composition, the protection level should be specified in the passport of the product. Cheap sunglasses of unknown origin do not give any guarantee and may turn out to be completely transparent to ultraviolet. They may even increase the damage: the human pupil will dilate in response to the decrease in the intensity of visible light. Unimpeded flow of ultraviolet light enters the eye unimpeded, damaging the lens, cornea, and retina. The best way to protect yourself is through specialized eyeglasses available at medical supply stores. They ensure the absorption of most of the flow of the harmful spectrum.
Important! Glasses protect not only the eyes, but also the skin around them. In this area there is no fat layer, so the aging of skin and the appearance of wrinkles under the influence of UV occurs particularly quickly.
A UV lamp made with your own hands will be a serious help in maintaining the hygiene of the room. But to avoid harmful side effects, reasonable precautions are required. The basic principle of medics "Do no harm!" is fully relevant to the topic of the review.
