Step by step instructions on how to make a mirror with illumination by yourself
Making a mirror with lighting with your own hands is not difficult, if you have the necessary materials and tools on hand. The work does not require any special knowledge and skills, everyone can figure it out. The main thing is to follow the step-by-step instructions and pay attention to electrical safety to avoid any problems.
Backlighting functions
Mirror with perimeter lighting is great for different rooms. This solution differs from the standard first of all the presence of self-contained lighting, which performs several functions:
- Provides the convenience of carrying out hygienic procedures. In this case, the mirror is most often located in the bathroom. It is much more convenient than the standard version, and backlighting allows you not to put additional light sources on the wall or in the ceiling, which reduces costs and simplifies the repair in the bathroom.This option is not only convenient, but also attractive.
- Allows you to assess your appearance before going outdoors. In addition, you can put on lipstick or do something else that a person needs to do when they leave the apartment or house.
- Provides optimal conditions for applying makeup. By diffusing the light flux, good visibility is ensured. With the right choice of light sources all the colors will be transmitted naturally, which is difficult to achieve when using general lighting, because the shadow falls on the person's face.An unusual option in the bedroom.
- Backlighting can also be used for work, if you need to fill papers at the table, many use this option and for needlework, so it can be called universal.
Due to the concentration of light in a small area you do not need general lighting. If you choose energy-saving light sources, it will save electricity.
How to place the mirror?
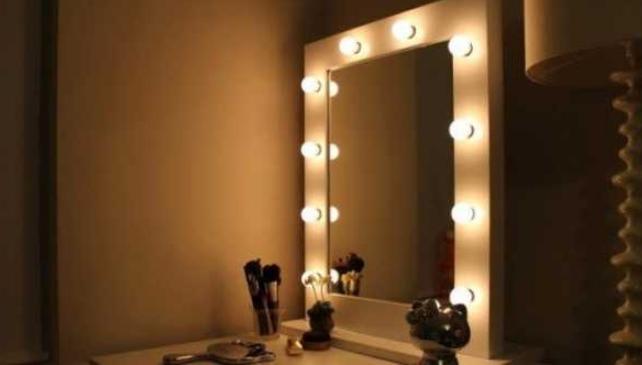
There are no special restrictions on the placement of a homemade mirror. But depending on the location, its size and configuration can change. It is better to decide in advance where it will be installed to measure the space and determine the ideal length and width. Most often mirrors with backlighting are used in such rooms:
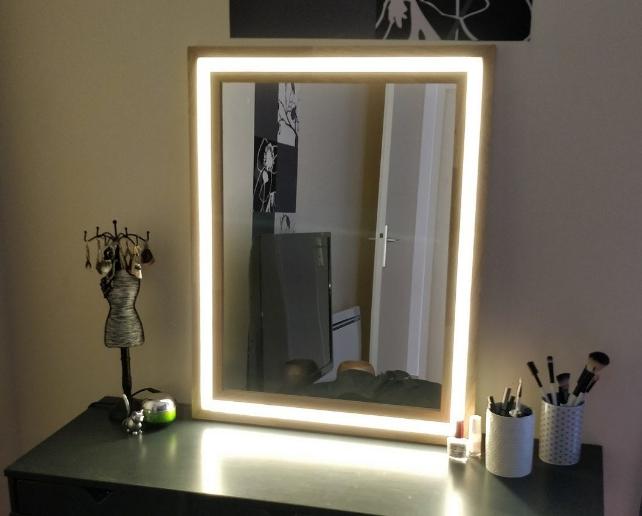
- Bedroom. If you install or hang the design above the dressing table, you get the perfect place for makeup and facials, which is not inferior to the salon. Here, the most important thing is the external component, the mirror should fit into the environment, so the color and stylistics are selected under it.
- Hallway. There can be a compact version as well as the full-length mirror, if the place allows it. Due to the backlighting, it is not necessary to organize the perfect lighting of the room. You can complement the design with a shelf for useful little things or fix hooks for keys on it.
- Bathroom. Here this option will come in handy, as when carrying out hygienic procedures, it is very convenient. But in this case, there are a number of requirements for safety and quality of manufacture. Since the humidity in the bathroom is high and there is a danger of water splashing, it is best to use a mirror with an LED strip. And the frame should be treated with a moisture-proof composition, so that it does not deteriorate.
You can make a portable home version of the small size, which is convenient to carry from place to place when needed.
Video: Step by step making LED mirror in the bathroom.
You can make a portable home version of a small size that is convenient to carry from place to place when needed.
Options for implementing backlighting
First of all it is necessary to choose the type of lamp, the quality of light and the peculiarities of the design of the mirror depends on this. There are several options, each has its own advantages and disadvantages:
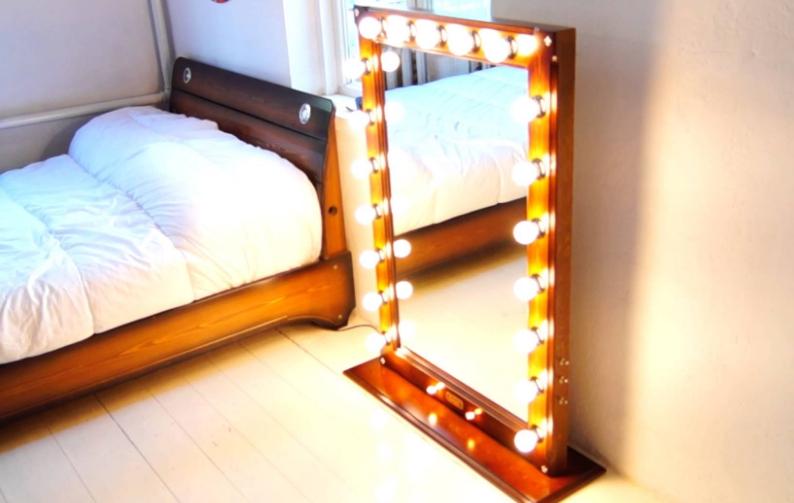
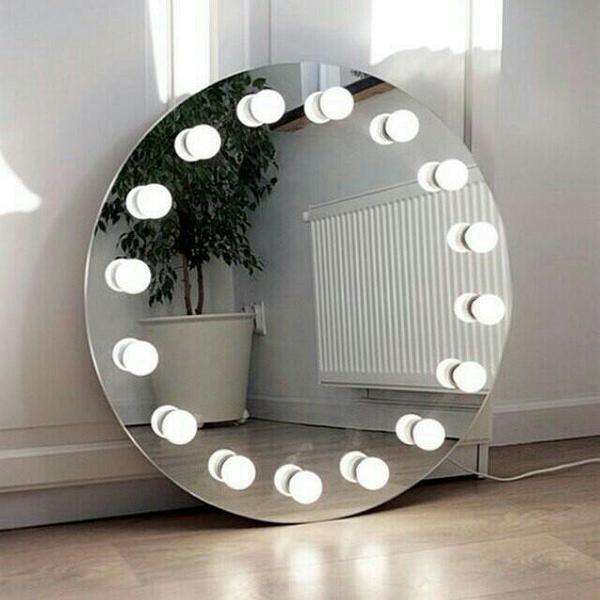
- Incandescent bulbs. They are the cheapest, but are rarely used because they get very hot when in operation, which creates a burn hazard when placed around the perimeter. They also consume a lot of electricity and have a short lifespan. And when assembling you will have to pay special attention to the electrical part, as it is important to make it reliable and safe.
- Halogen variants are times superior to incandescent lamps in brightness and quality of light. But they are also very hot when working, which can create inconvenience. Normal operation requires the installation of special add-ons, which complicates the assembly.
- Fluorescent lamps give good light and do not consume much electricity. Both linear and tubular products can be used to illuminate the mirror. But the appearance of this solution is not the most attractive, so it is also not often used. In terms of installation, everything is similar to incandescent bulbs.
- Neon light sources are coming into fashion and are used on mirrors. They are expensive, so they are not common. But if you need an unusual solution, neon is the best fit.
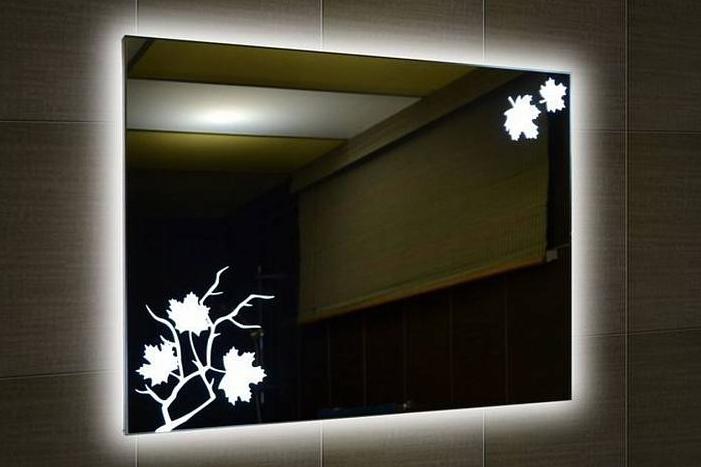
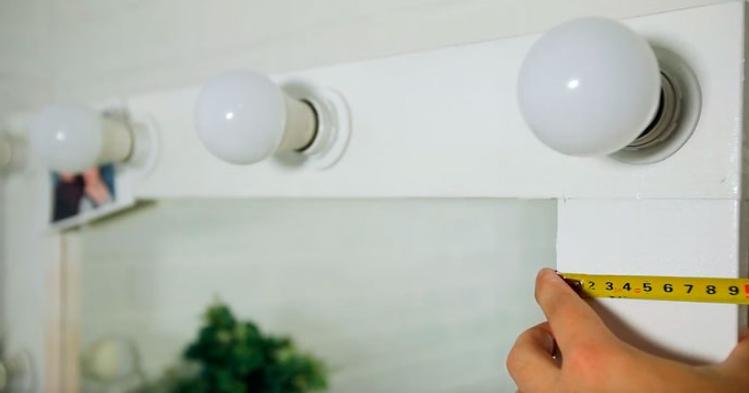
- LED equipment is used in the manufacture of backlit mirrors most often. It is economical, safe to use and slightly heats up in the process. There are two options - bulbs и LED strip. The second solution is particularly convenient, because it takes up little space and gives an even, bright light.
What lamp wattage to choose
There are no clear requirements in this regard, it is important to provide such light, which will give good visibility, but will not blind and create discomfort for the eyes. Typically, for small designs is the norm lamp power of 3.5 watts, and for versions larger - 5 watts. Within these limits and most often select light sources.
As for the LED strip, it is worth using only monochrome options, they give better light. Choose products with a number of diodes per linear meter of 60 or more, only in this way you can achieve a good result.

In order not to change the bulbs, it is worth using a small trick. Install LED bulbs or strips as backlighting and equip the system dimmer . - It allows you to adjust the brightness. In this case, setting the light is not difficult, as it can be controlled in real time.
Equally important is to select color temperature. For the mirror, the natural variant is suitable, as it best transmits colors and does not create a strain on the eyesight.
Advantages of making it with your own hands
Homemade versions have a number of advantages over ready-made:
- You can make a mirror of any size. This allows you to adjust to the available space and choose the best parameters.
- The frame is designed in different ways. It is easy to decorate it to match the surroundings to get a good result. In addition, ready-made products or blanks are on sale, which are not difficult to assemble.
- The number of lamps is chosen at your discretion, which is also important. You can use any light source, and in prefabricated products the system is made for a certain type of bulbs.
The main advantage is the priceHome-made version is much lower than the ready-made. At the same time, the quality will be comparable, and often the mirror, assembled with their own hands, is much more reliable and attractive.
Thematic video.
Instructions for making
It is easiest to use in the manufacture of the LED strip, as this option on the strength of even a person without experience. You can buy it in an electrical store, there are other components that will be needed. The process is broken down into several steps to make it easier to understand.
Project, materials and tools
It is best to make at least an approximate drawing. If you have a ready-made mirror, you should start from it. If it will be bought, you can choose any width and length. It is worth to draw a simple sketch, so that there are clear guidelines, it will simplify the work. The following will be needed:
- A wooden platband or other element from which the frame will be made. The minimum width is 5 cm.
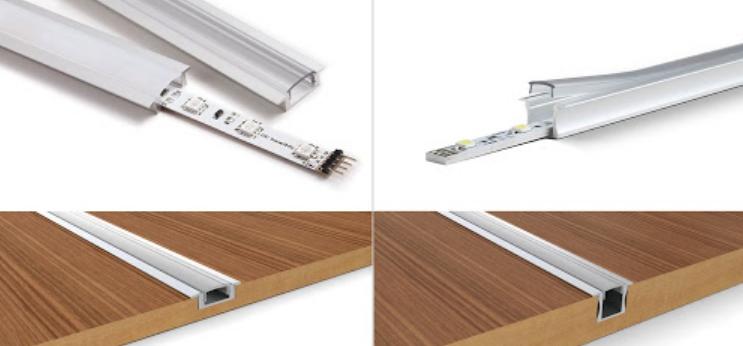
- Aluminum profile with a diffuser. Sold in electrical stores and building materials.
- LED strip, the length depends on the size of the mirror.
- Power supply And wires for connection.
- Manual milling machine, a screwdriver with nozzles and drills.
Assembly of the frame
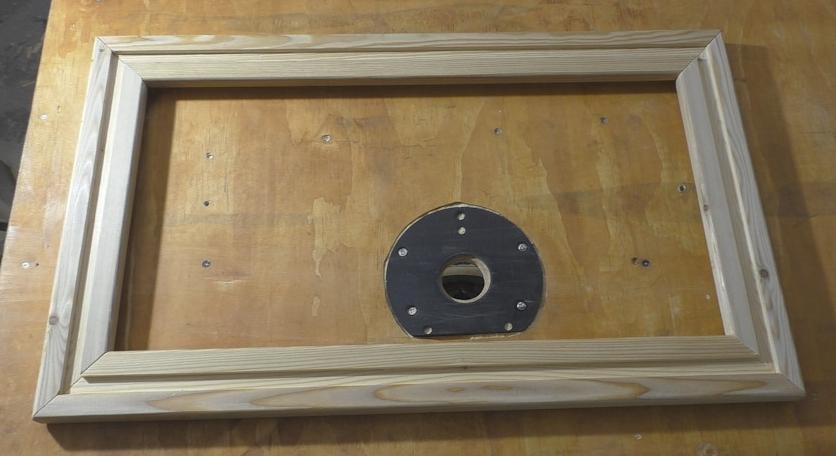
To begin in the middle of a solid billet is cut a slot to the size of the aluminum profile, it must be recessed flush with the surface. The work is not difficult if you have a router with a nozzle at hand. On the back side on the inner edge, a notch is made for the installation of the mirror.
The elements are marked and blanks for the frame are cut. This is done with a special saw or manually with a chair. Then the surface is sanded to perfect smoothness.
The frame is aligned and checked. It is necessary to drill holes in the ends for the furniture screws-ties, they should be located at the top and bottom, then the place of attachment will not be visible. The surface is painted.
The design is assembled, you can lubricate the joints with carpentry glue for extra reliability.
Attaching to the wall and connection to the network
The easiest way to buy the eyelets, which are placed in the back. To make the mirror pressed tightly to the surface, you can recess them so that the metal does not protrude.
Some people attach two rings on top and hang on a rope, if it suits the style of decoration. When installing it on the table, it is better to fix the construction with small furniture corners, then it will not topple over.
By the way! You can use mounting elements that are glued to the wall, and then easily removed if necessary.
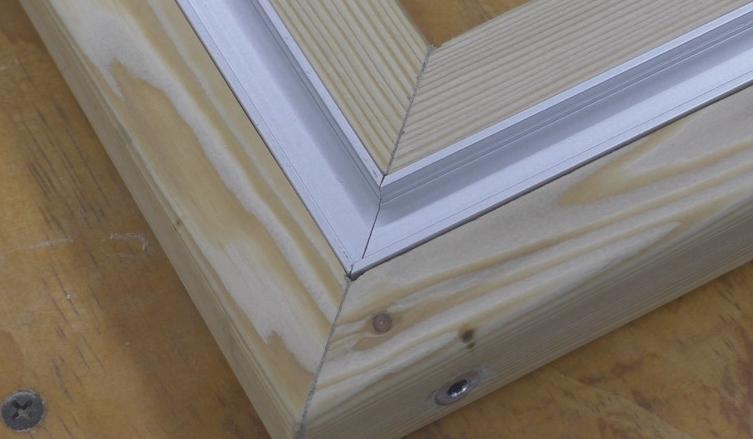
After assembling the frame, an aluminum profile is placed in it and the LED strip is glued, it must be attached to the mirror along the perimeter. Wires are soldered to its end and connected to the power supply. It selected on the power of diodes.
From the unit can be connected directly to the network, if the wire is brought out, or through a socket. In the second case, you need to put a plug. You will also need a switch, so that the light does not burn all day and night, it is easiest to choose a sensor version. Properly connect it will help the scheme, which is always included in the kit.
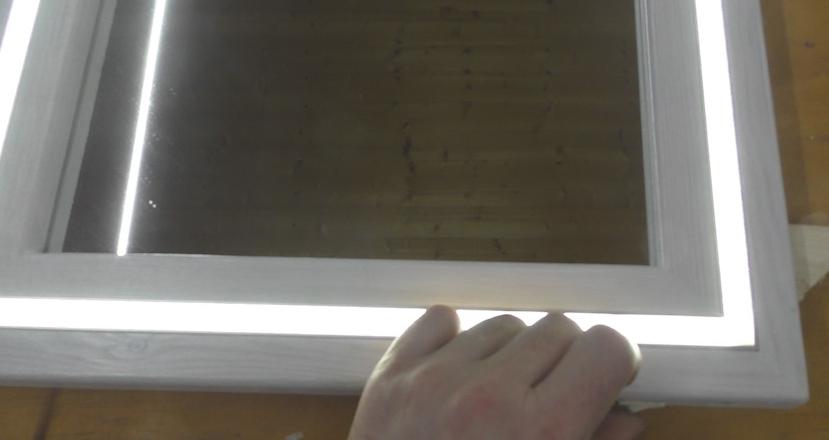
To assemble a mirror with lighting is not difficult, if you have everything you need at hand. The main thing is to observe safety rules when assembling the wiring and to secure the construction on the wall.
Video-instruction: The full cycle of making a self-made mirror with lighting.
