Homemade loft style light fixture - detailed instructions for making
Such an interior object, as a loft chandelier, will be needed to illuminate the room in the appropriate style. Including the imagination and armed with not the most rare and expensive materials, you can make with your own hands not only a pendant lamp, but also a floor or table floor lamp, a wall sconce. The rules of lighting in the loft style, the types of lights, the nuances of their location in the rooms, as well as several step by step instructions for making at home - about all this the article will tell.
Basic rules of lighting in the loft style
Illumination of the room in the loft style implies a number of important requirements:
- Lighting fixtures should consist of large, rather rough parts.
- The lamps themselves should have clear geometric shapes, be noticeable, catchy.
- Excessive decorativeness, softness of colors is unnecessary.
- Lighting - only diffuse. The main light is provided by the ceiling chandelier, additional light is provided by fixtures throughout the room.
- For high ceilings, it is recommended to install a chandelier with the ability to adjust the height. This is practical and, in addition, corresponds to the design of industrial rooms. Chains, ropes, cables are used for suspension.
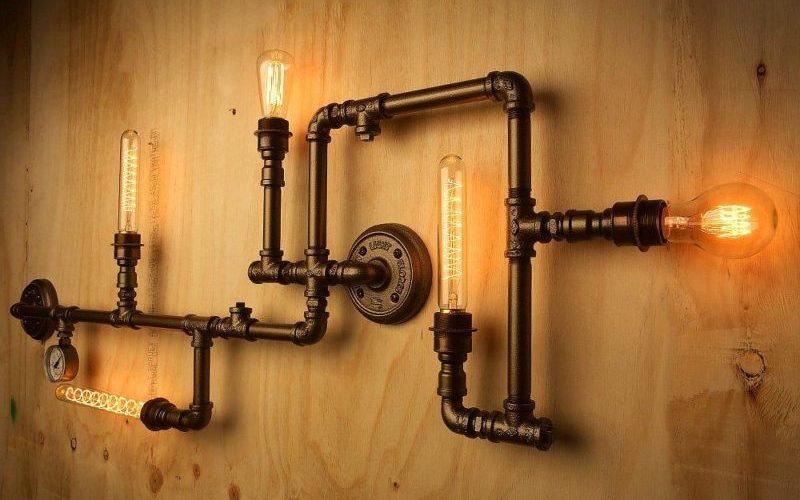
Types of fixtures
Chandelier
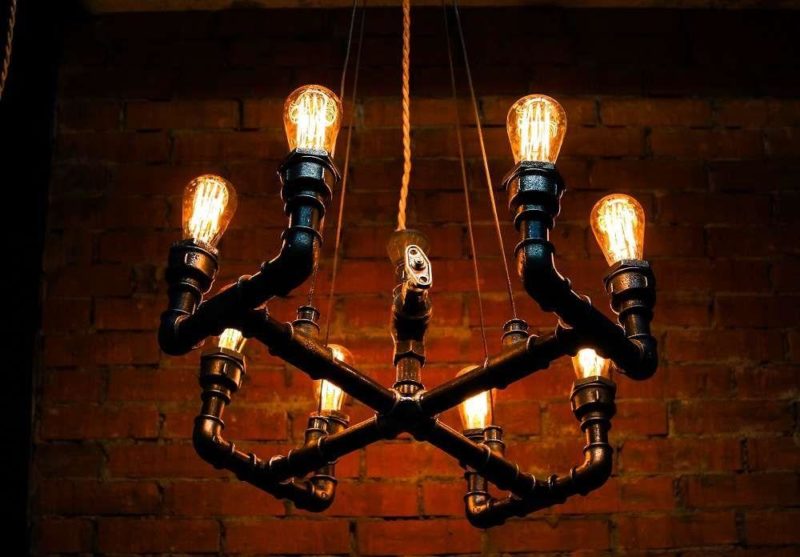
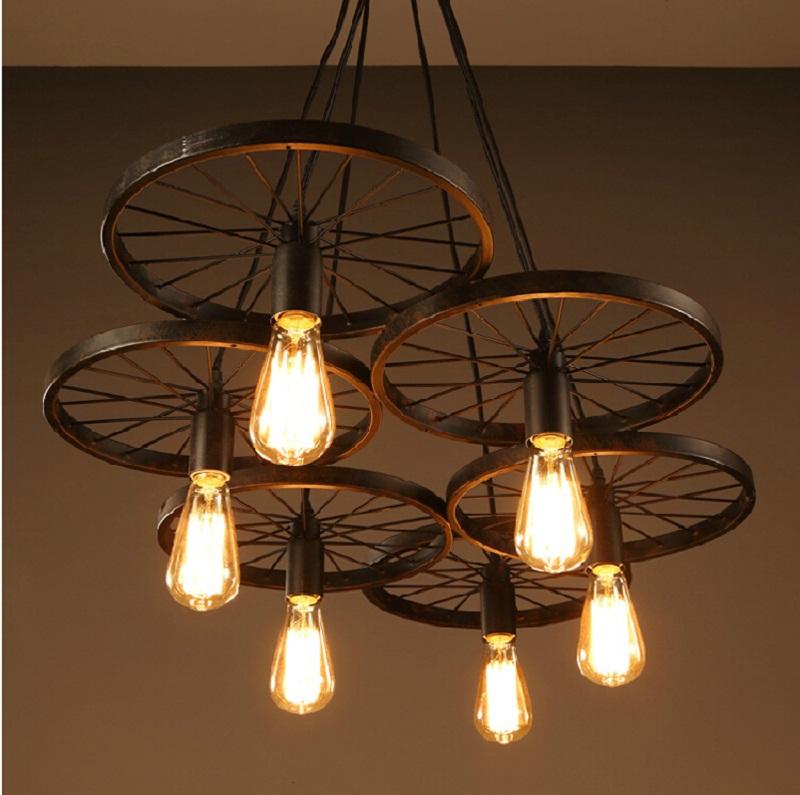
In a room under the loft, the task of pendant lights is not only the main light. They help to accentuate individual zones. The role of the chandelier is often performed by metal or wooden bar, in which the socket is mounted.
Sconces
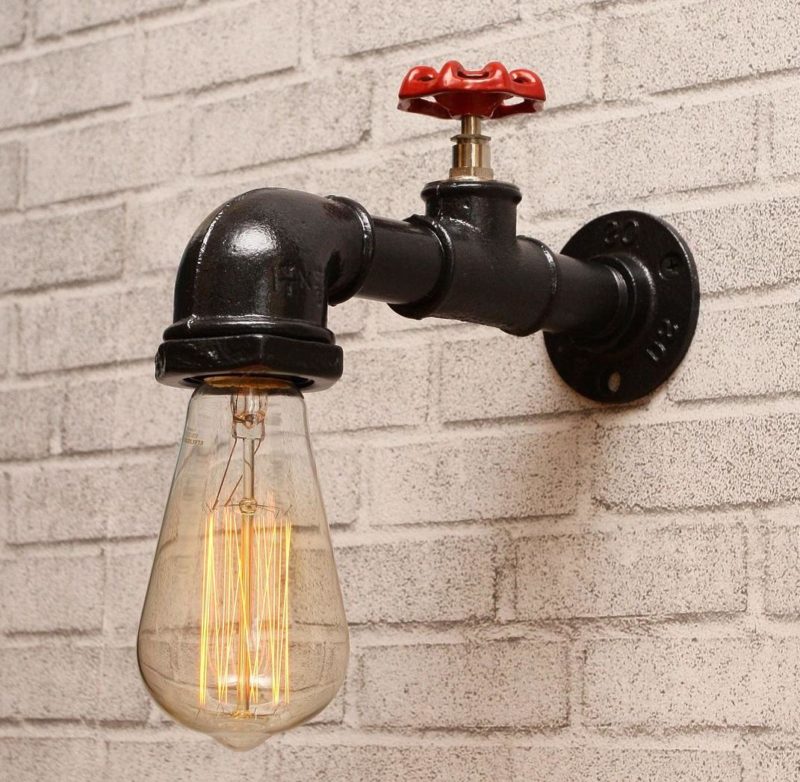
Option No. 1 for wall lights in the interior loft - the ability to turn and tilt. Due to this, the sconce accentuates the area with light of different intensity. Wall lights are installed with hanging hooks or chains.
Floor lamp
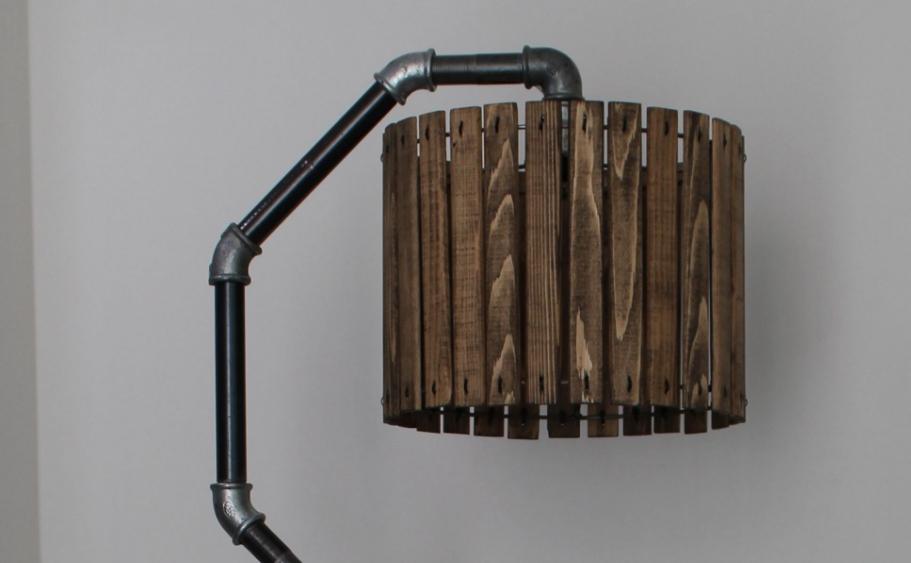
In the design of a floor lamp under the loft, it is worth paying attention to the base separately. It can be curved metal pipes or wooden legs, on which the valves are already installed and the lamp shade is mounted. Loft floor lamps can be placed as in the bedroom, and on the table or floor in other rooms. Floor lamp should maintain the same style as the table lamp. For them, it is worth selecting lamps of small and medium power.
Lampshade
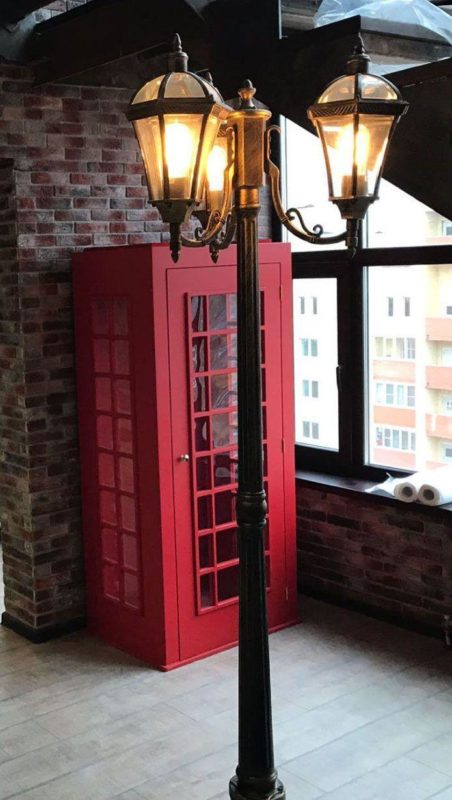
For some lights in the loft style, the lampshade is of great importance. Popular options - stylization as a street lamp, retro, vintage.
With the help of paints and other additional design elements give the construction an artificial "brutality": scuffs, roughness, rust, etc.
The nuances of choosing lamps for different rooms
Living room and hallway
In the room under the loft, the main design emphasis should be made on the hallway and living room area. This - the first place that sees a person who enters, and he should immediately become clear the design concept.
There is no need to separate the hallway and living room with partitions. Separate areas are created just with the help of lighting fixtures. There is no need for too bright light for the hallway, so it's enough lantern with a couple of three lamps. It will look stylized as a street lamp.
For living room All the key requirements for lighting the room loft. There should be a main chandelier, fixed to the ceiling by a pendant with adjustable height. It is complemented by lights on the walls, tables, on the floor.
Multilevel lighting is a must for the loft living room.
Bedroom
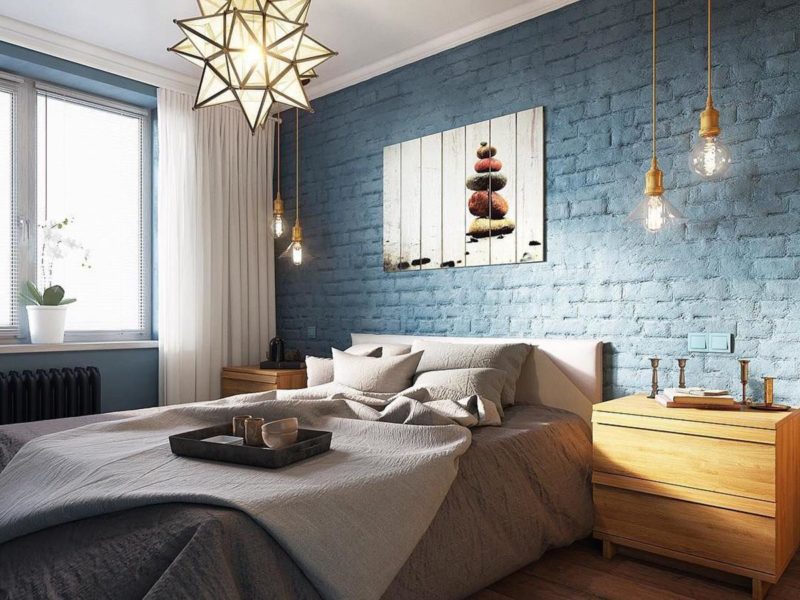
Strict adherence to the smooth crisp forms, characteristic of loft design, can be slightly sacrificed in the bedroom or children's room. Here the addition of parts made of fabric, textiles will be appropriate. Floor lamps and wall sconces make a strict, but minimalistic, without frills. A good solution is to combine loft and retro styles.
Kitchen
Unlike in the bedroom, in the kitchen it is worth abandoning the fabric inserts in the design of light fixtures. Plastic is also not recommended. A metal or wooden base will do. The area near the dining table should be well lit by the main chandelier. For the other areas wall sconces are used, as well as built-in lanterns built into the furniture.
One of the "chips" of the loft style is brickwork, in addition to the living room, it will organically fit into the design of the kitchen.
Materials and colors of lanterns
Main. Simple materials are used for loft lanterns. Additional decor, chemical processing - it is worth doing only as a last resort. Even an ordinary grid, found in the scrap metal - seemingly unnecessary piece of iron - will become an original detail of the lantern exactly in this form.
Actually, metals are the main material for making with their own hands lighting fixtures in the loft style. This is the basis, the base. Other important materials are:
- wood with a minimum of processing;
- glass;
- ropes, cables;
- stainless steel;
- parts of old light fixtures, in particular, plafonds.
Parts made of plastic are often used. This material has many advantages:
- ease of work;
- you do not need threads for fastening - clamping rings and nuts are enough;
- reliable electrical insulation.
In the context of the color scheme should also strive for naturalness and restraint.
Tubes and metal joints can additionally be painted with special paints to give an authentic look. First of all, we are talking about the colors gold and metallic.
Bright tones can also be used. But there is a rule. Only one element of the lamp is decorated with this color. For all other parts, completely untreated materials of subdued colors are used to give a contrast.
The main stages of manufacturing
The creation of a lantern with a loft design consists of such basic stages:
- Making holes for cartridges in the base.
- Fixing the base to the ceiling or wall.
- Connection of bent parts with the help of adapters, sealing rings.
- Installation of valves and other functional and decorative details.
- Connecting electricity to sockets.
- Screwing in the bulbs.
- Installing the plafond.
It will be useful to read: Tips on lighting in the loft style.
Step-by-step diagrams for making different kinds of loft-style lanterns
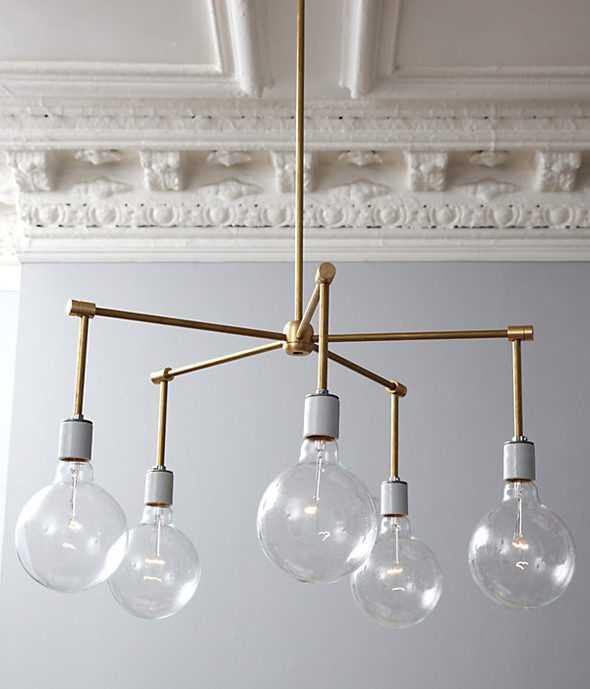
Hanging from brass tubes
To make this fixture, you will need 5 shorter or longer tubes of brass or copper, the same number of hinges, pear-shaped bulbs and sockets for them.
- Lead the wires to each socket.
- Pull the wires through the brass tubes. Connect the short tubes to the long tubes by means of hinges.
- Screw the tube to the socket.
- The legs of the future lamp are screwed into the fittings. Once again make the wiring, insulate the wires.
- Pull the cable through the main tube that serves as the base for the chandelier.
- Securely fasten the lamp to the ceiling.
- The last step is to screw in the bulbs.
Lamp made of polymer pipes
To perform with their own hands another original lamp in the loft style will need polymer water pipes. The algorithm is as follows:
- Include imagination or use samples from the Internet to create a project of the future lamp. Here is an example of a tree fixture with branch light fixtures. It requires 12 sockets and the same number of bulbs.
- Connect the sockets together.
- Paint the frame. It is best to use gold or silver paint. The work is done on newspapers. If one coat of paint is not enough, you can apply a second coat after it dries.
- The chandelier is mounted on the ceiling, and the lamps are screwed on at the end.
Chandelier in industrial style
The main element for such a lamp is a plafond with a grid.
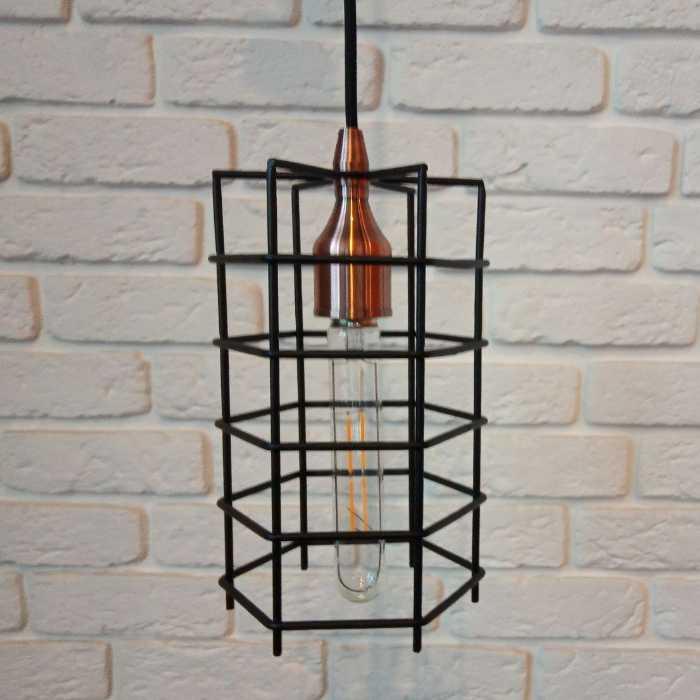
In the role of it, you can use not only a purchased cover, but something from kitchen appliances or, for example, a grid from a car air filter. These lights are usually hung on the wall as sconces or placed on the table and floor as a floor lamp.
It is best to use ceramic sockets. They are first supplied with electricity and then, with a clamping ring, the grille housing is attached.
Boom-Based Lamps
There are different uses for the boom in loft lamps. Here's a diagram of how to make one of these kinds of lights:
- Mount 2 brackets in the wall, install a metal rod between them, empty inside.
- Drill holes in the rod for the lamps.
- To lay wires on the wall. Lead the end of the wire to the brackets.
- Place wires connected to the common network cable in the holes in the boom.
- On the ends of the wires install the sockets, then screw in the bulbs.
Lantern made of plastic tubes
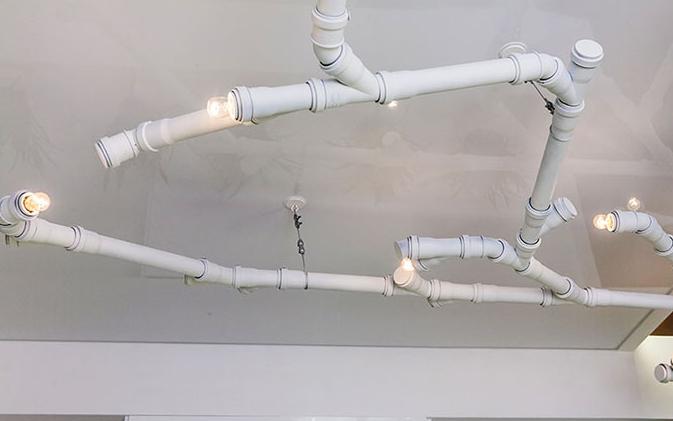
In some models of pendant lights, the role of the rod is performed by a plastic tube. It is easy to cut holes in it for the bulbs, and to screw them in do not need threads - clamping rings help. The plastic rod weighs much less than the metal one, so it can be attached to the ceiling with hangers.
In addition, the plastic pipes are connected to each other with couplings. This makes it possible to create a real pipe-light, twisting and impressive.
Such a lamp can be decorated with counters - this will give authenticity. It is better to choose pear-shaped lamps. And metallic colors paint will create the effect of real iron pipes.
