Chandelier tab in a stretch ceiling
In rooms with suspended ceilings often require a cage under the chandelier. For a detailed acquaintance with this element, it is necessary to find out what its functionality is, what types there are, whether it is possible to make with your own hands. It will also be useful to get acquainted with the installation instructions.
What is a cage and what is it for
A caulk is a special flat element of round or any other shape. It is used to fasten to the base ceiling, which in the process of repair will be hidden under the stretched canvas. Fixing structures are sold ready-made, also, because of the uncomplicated structure, you can make them yourself.
The fixing is used as a framework, which affects the strength of the structure. Its main function is to To avoid loading from the weight of the chandelier on the suspended ceiling canvas. There is also an additional function, to protect the fabric from the radiated heat, because the framework element is made of heat-resistant materials.
Variety of embedded parts
Elements can vary in materials, dimensions, shape and other characteristics. But the main classification goes according to the method of attachment and purpose.
Method of fastening
One of the main characteristics of embedded parts. It determines the cost and how many times one element can be used with different chandeliers. There are two ways to attach it:
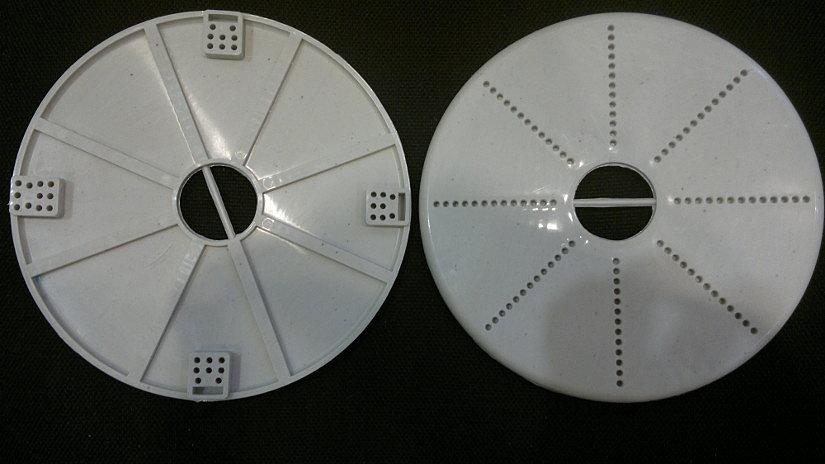
- Fixed .. Point elements, designed for a particular chandelier, its size and shape. The advantage of fixed tabs is the affordable cost, but the disadvantage is that when replacing the chandelier you will have to throw this element away. Another problem is that it is not always so easy to find a bookmark just for your lighting fixture.
- Universal. Universal platforms will fit most luminaire models. Another plus is that they are available in almost every construction store. The only inconvenience is that the part will have to be trimmed a bit to "fit" a particular chandelier.
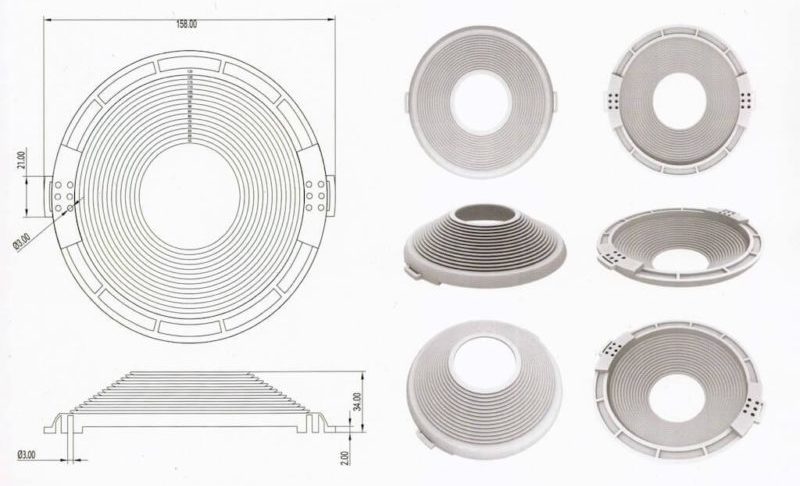
Important. When choosing still worth paying attention to the mounting bars and their size, they must match the distance between the base and the stretch ceiling.
According to the purpose
In this characteristic, everything depends on what exactly a person wants to fix on the ceiling part of the room. For each type, there are different ways of fixing and other nuances:
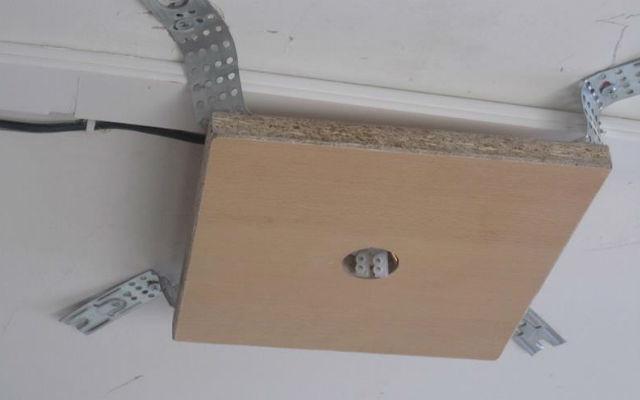
- Chandelier. Bookmarks for massive lights are fixed to the base on sturdy metal strips. This will help to hold the structure evenly and not transfer the load to the stretched canvas.Self-made tab under the chandelier.
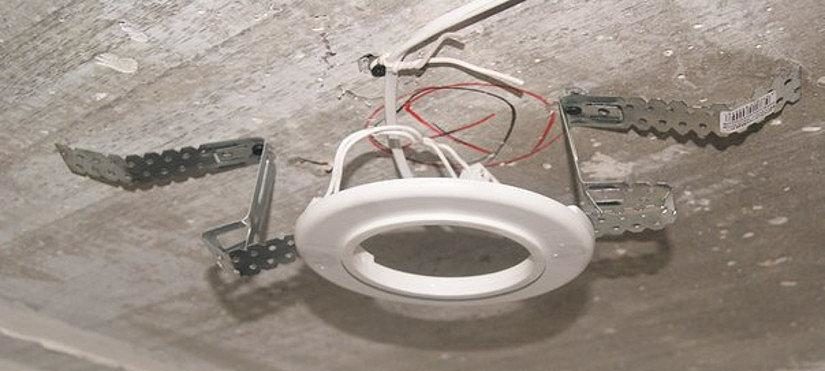
- Spot lights. Differs from chandelier mounts in that they have fewer requirements for durability, but more for heat resistance. Spot recessed fixtures are lighter than pendant fixtures, but they get hot during use. It's better to trust the safe factory products.A platform for spotlights.
- Projector. Usually fixed in the floor slabs on a bracket. Additionally, the design uses a tread ring.
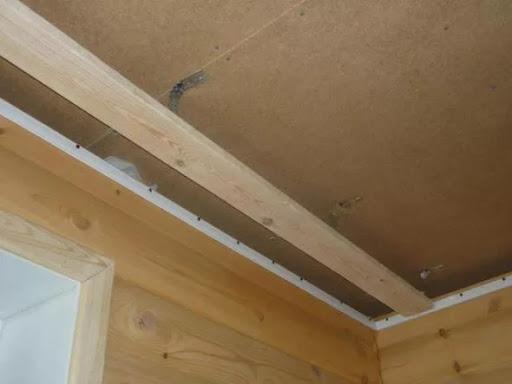
- Eaves. The design of the cornice also requires embedded elements. Because of its weight, increased requirements for strength are put forward, so it is better to use a wooden bar.Bar as a base for the eaves.
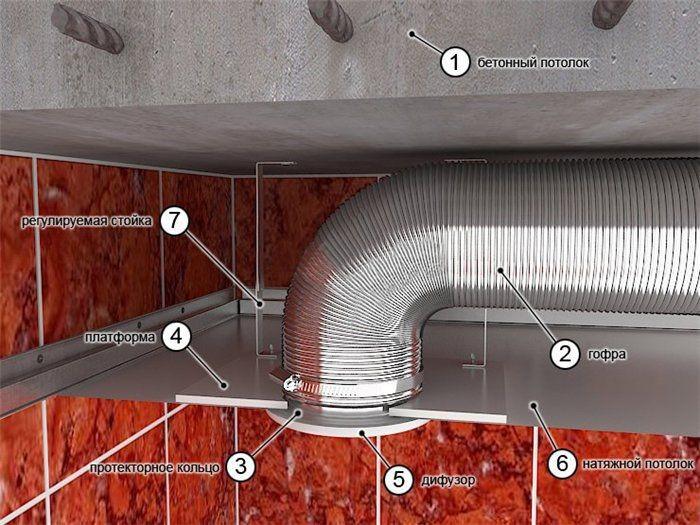
- Exhaust. For ceiling hoods make a special box of OSB boards, plywood, timber. It is important to take into account the weight and dimensions of the hood itself, the platform must be as stable as possible.Scheme for fixing the hood.
Bar tabs may be required and for a closet compartment, because during its assembly it is easy to damage the tensioned canvas, and when installing the ceiling in a room with a closet will be difficult because of the lack of space.
Read also: Technology of installation of spotlights in suspended ceilings
Do-it-yourself fabrication
Factory terminations are mainly made of heat-resistant plastic. It is very difficult to process such material at home, so homemade mortars are made of wood. Wood has advantages in that it is easier to level it and it will not deform even under the load of heavy chandeliers.
The simplest version of the design is made of timber:
- You need to take the mounting bars, bend them so that a minimum of space is left between the base and the platform.
- Make a cruciform shape out of the bars. To do this, you need two identical pieces of wood, cut hollows in the middle, fold the element into one structure. For fixation, self-tapping screws are used, additionally, the connection can be strengthened with glue.
- The slats are connected to the platform, fastened to the ceiling.
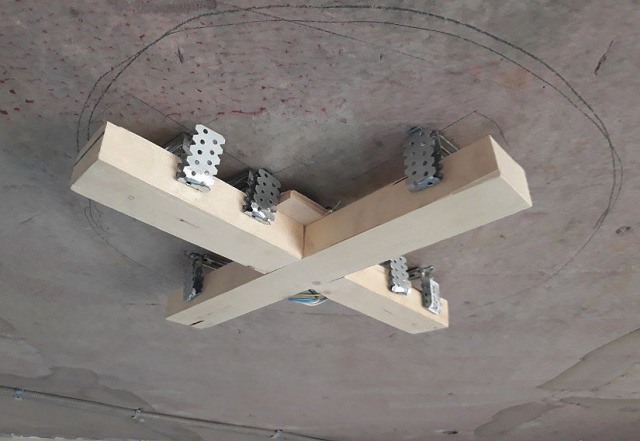
For lighter designs, instead of bars, you can use planks, OSB boards and other similar materials. In such structures, it is not the wood that will be responsible for adjusting the height, but the mounting bars.
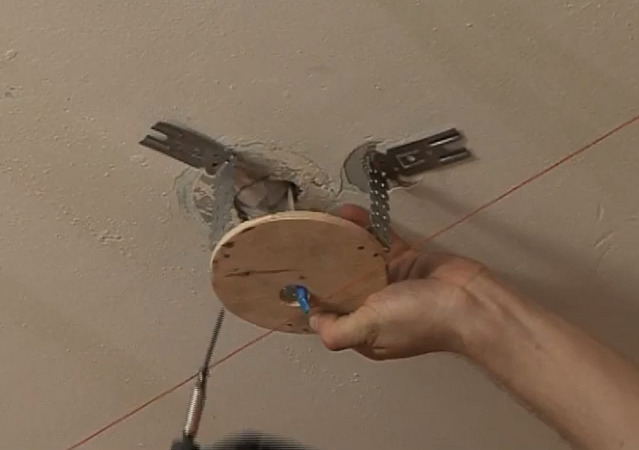
Video lesson: The nuances of installing a plywood trim.
Step by step instruction for installation
Installation of plastic tabs under the chandelier - a simple task, you can easily cope with it yourself. It is only important to follow the instructions.
If the wiring is already laid, you need to knock out the power supply of the room before you start the work.
4 installation steps:
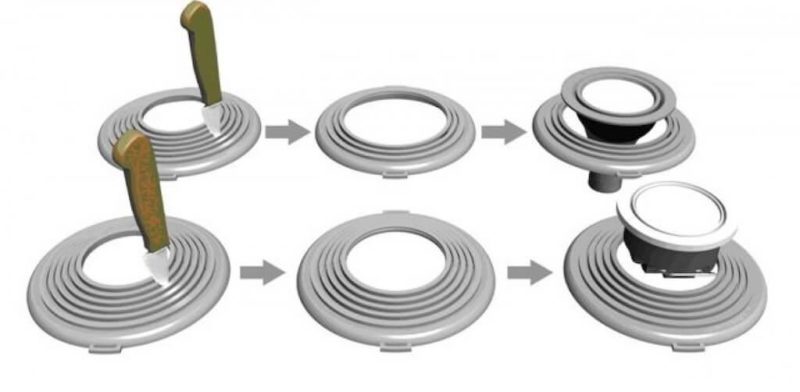
- If the platform of the universal method of mounting is chosen, it is necessary to cut a circle corresponding to the dimensions of the light fixture (in the case of point models).
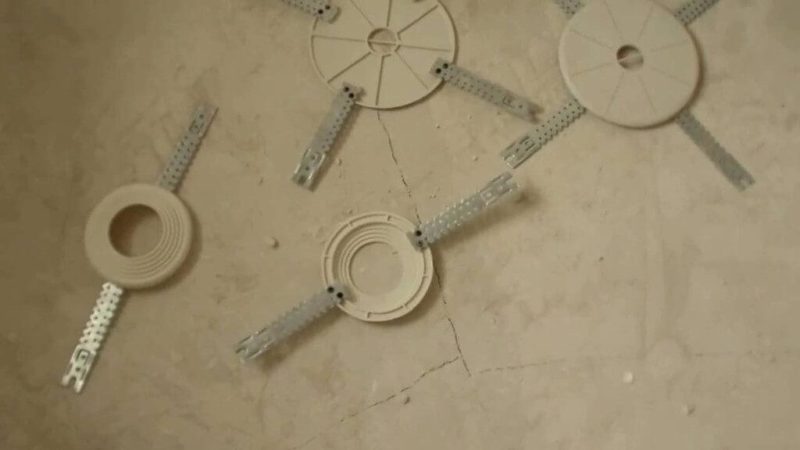
- It is necessary to prepare hangers for mounting the same size, fix them to the embedded (factory versions have special holes for this).
- Places are marked in the base ceiling, holes are drilled on them, dowels are inserted.
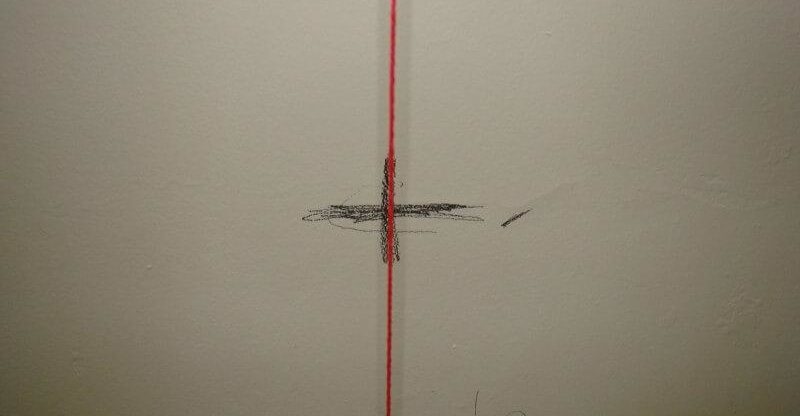
- The structure is attached to the ceiling. It remains only to check the level, for this you can use a paint cord or laser pointer.
The next step: Installing the chandelier on the stretch ceiling
If it is planned combined lightingIn which, in addition to the chandelier will be a few more spotlights, then necessarily first prepare a plan for the placement of all elements.
