How to install spotlights in a PVC panel ceiling
PVC panels - one of the most inexpensive solutions used to finish the ceiling in corridors, kitchens, bathrooms and any other rooms where you need to save money. Panels are not difficult to install themselves, which makes the project even cheaper, and you can also cut into them the lights, if you follow simple tips and properly prepare for the work.
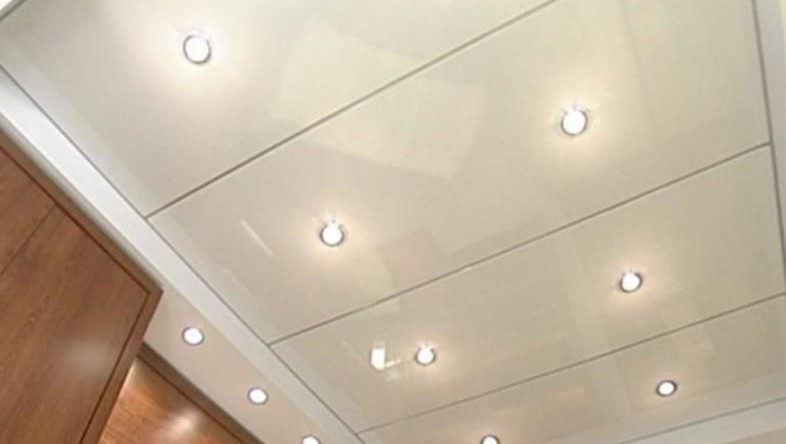
Installation of spotlights in the plastic ceiling is different from other options because of the peculiarities of the material. PVC panels have their own advantages and disadvantages, which must be taken into account. You can not make mistakes, because because of them the surface will at best be spoiled, and at worst the plastic will start to melt.
What are the features of the material
Panels of polyvinyl chloride differ in a number of characteristics, so before you put lights in such a ceiling, you need to understand the features of this option:
- Plastic is not afraid of moisture and even with prolonged exposure to water does not deteriorate and does not change its properties. But at the same time on the surface can appear mold, if the room is poorly ventilated and the moisture does not evaporate.
- Service life of more than 10 years. PVC retains reliability for a very long time when used indoors. It is not suitable for open air due to the fact that temperature and humidity fluctuations, as well as ultraviolet radiation from the sun makes the plastic brittle in just 2-3 years.
- Panels can be installed with your own hands in just a couple of hours. To do this you need to assemble a frame of profiles or wooden bars, and then secure with staples, self-tapping screws or liquid nails.
- This is the cheapest finishing material today. You can buy a panel of different widths and colors, which allows you to decorate the ceiling the way you like.
- The surface is afraid of impact, and PVC cracks or breaks. Therefore, treat the ceiling with care, if you install the light fixture to press hard, there may remain a trace. The work should be carried out carefully.
- You can cut the plastic with a hacksaw for metal or a construction knife, which simplifies the work. The main thing is to do everything carefully so as not to damage the surface and not to leave scuffs on it.
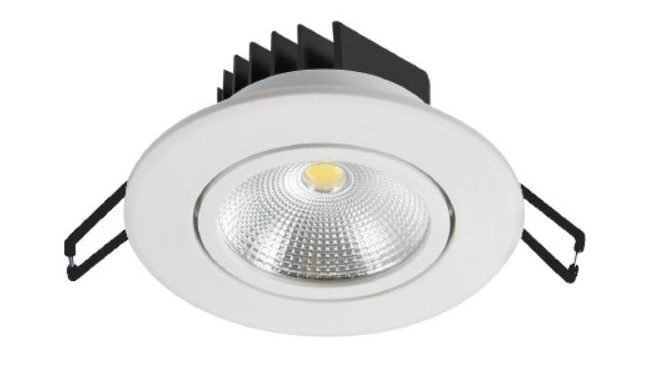
- PVC is afraid of high temperatures. In the composition are added components that do not allow the panels to burn, but they easily melt and deform from the constant overheating. Because of this, lamps must be chosen with particular care, you can not put models with incandescent lamps, halogen options are also undesirable. LEDs are best, as they do not heat up much, even during long hours of work.
- Large width panels can sag under the weight of the lights, if they stand in the middle. If necessary, you need to put platforms under the ceiling of hangers and plastic to hold the clips on them. It is better to choose lightweight fixtures so as not to do extra work.
For the record! If metal ceiling panels are used, the rules for installing lights for them are the same as for PVC.
What you will need
Before installing gather everything you need, so as not to be distracted during the installation and not to look for improvised devices. Some of the work should be done before fixing the panels, and some after. What you need:
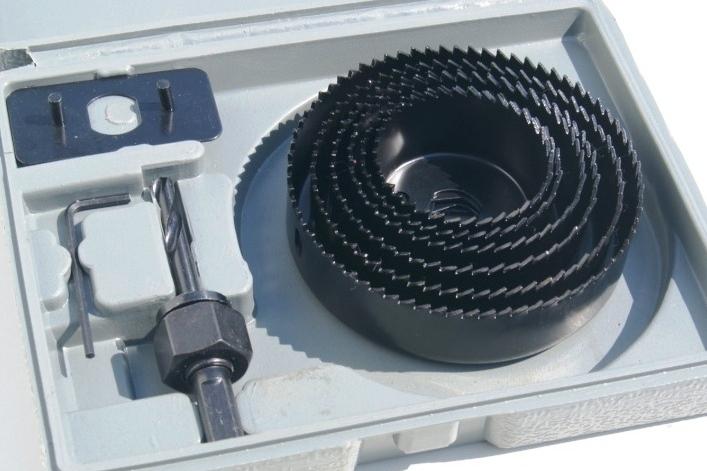
- Drill or screwdriver with a drill bit for wood, the diameter of which is selected to Diameter to match the size of the spotlights. It is easiest to buy a set, it is cheap and will come in handy later.
- If you do not have a crown, for cutting buy a construction knife with a width of 25 mm and a set of replaceable blades for it. And for marking circles will do construction or regular school compass.
- Construction pencil, tape measure and angle, if you need to determine the point in the middle of the panel.
- Screwdrivers to clamp the block, if it is a regular type. You can buy self-clamping pads, they are easier to work with.
- Cable for wiring. Calculate the amount in advance, the cross section must be chosen according to the lighting fixtures. You may also need a corrugated hose for routing wires and a junction box (or several).
- Fasteners for the wires. These can be self-tapping screws on wooden partitions, dowel nails are used for concrete.
- A ladder ladder or a table for convenient work under the ceiling. If the height is low, a stool may suffice.
Before you start the work, you need to prepare the room. Remove everything that gets in the way, cover the furniture with a film. If the room has no windows - put a light fixture or hang the switch.
Wiring Diagram
Make a wiring diagram should be made before the beginning of work, this will help to calculate the length of the cable, as well as to think about the location of outlets and junction boxes. In addition, it is important:
- Calculate the number of ceiling fixtures. One element usually captures from one meter to one and a half of space. For good light they can be placed every 50-60 cm, the maximum distance - no more than a meter. The distance from the walls is at least 30 cm.
- Determine the exact position based on the width of the PVC panels. It is better if the lights will stand in the middle of the elements, so it is much easier to make holes. When narrow panels are used, on the contrary, it is necessary to make holes at the joint, so as not to weaken the surface much.
- Wiring is laid as usual. In the walls is better to do strokes, and on the ceiling to use special mounts with clamps. Lay it parallel to the walls, turn at right angles, you can not lead the cable diagonally, cross it. Fasten firmly, leave enough room to pull the ends and connect to the lamp.
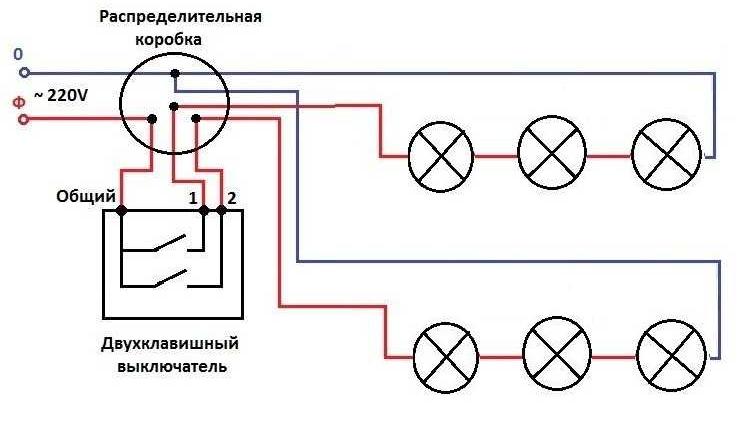
Important! It is obligatory to switch off electricity before starting work with wiring.
It is better to draw a diagram on paper, so it will be easier to make calculations and competently plan the position of the elements. It is convenient to make marks with chalk on the ceiling or with a construction pencil.
Preparing the place, making a hole
Installation of spotlights in PVC panels requires proper preparation. It is easier to combine this work with the installation, so there is less chance of making a mistake or ruining the material. On the ceiling, there should be markings of the location of the lights and wires connected. Follow the instructions:
- Start assembling the panels. When it comes to the element in which to make a hole, put it in place and mark the center of the location of the lamp.
- Carefully remove the panel and draw a circle (or several if there is more than one fixture per element).
- When working with a screwdriver or drill with a wood drill bit, you need to set the tool level and start it carefully. No pressure, the plastic cuts very easily, keep the device perpendicular. It is easier to put the panel between two stools.
- If you do not have a drill bit of the right diameter, use a construction knife. First you need to carefully cut through the top of the perimeter, pressing on the tip of the blade and punching the surface step by step. Take your time, it is easy to damage the panel and ruin it. Another option is to make a hole anywhere in the circle, and then cut it on the perimeter with an electric jigsaw, on which it is better to put a blade for plastic with fine teeth.
- Jagged edges can be removed with sandpaper. Then the surface will be smooth and the framing of the lamp will fit tightly. After preparing the holes, fix the panel, before doing so, pulling the ends of the wires outward.
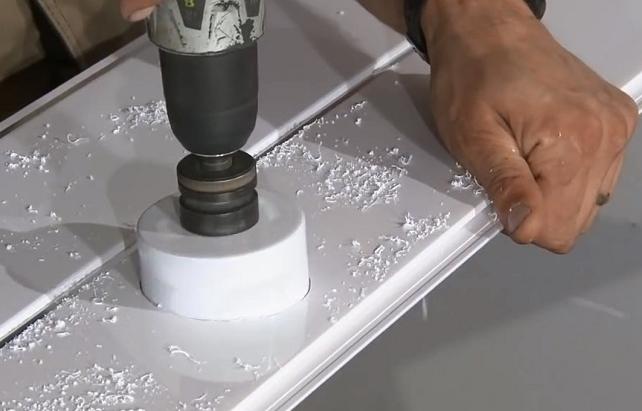
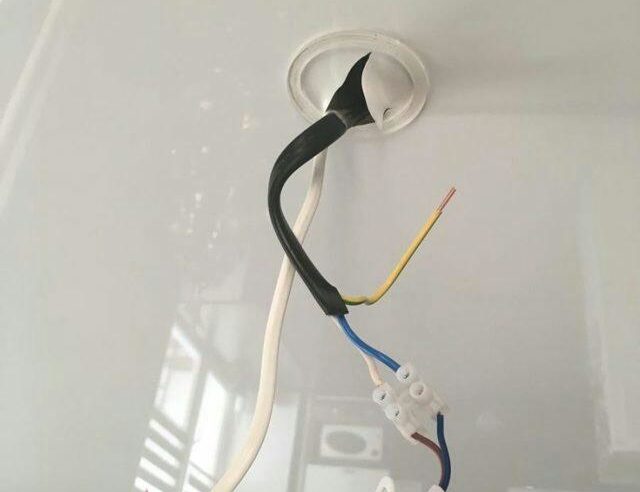
By the way! For convenient installation, the wires must hang below the surface of the PVC panels by at least 15 cm.
If the elements are narrow, it is easier to place the holes at the joint. To do this, you need to connect the two parts, mark the location of the hole and cut it in the same way as described above. It is better to call an assistant, so that he held the panels and they do not separate when cutting.
Video: Making a hole in the plastic lining for the spotlight
Installing the lighting fixtures in PVC panels
Mounting lights in PVC panels will take a little time, if properly prepared. Before you begin, it is worth unpacking the equipment, inspect it and understand how the fixtures work, so that you do not ruin anything later. Follow some simple tips:
- After fixing the panel, it is necessary to connect the light fixture to the lead out cable. To do this, the ends of the wires coming from the body are stripped. It is worth doing this beforehand, so as not to do the work under the ceiling. It is more convenient to use an electrician's knife or a construction version with a sharp blade.
- On the ends of the cable running along the ceiling, fasten the socket. The most commonly used option is to insert the wire into the hole and clamp it with a small screw (you will need a small Phillips screwdriver for this). Then connect the luminaire in a similar way, it is more convenient if someone holds it during connection.Connecting with the terminal blocks.
- Press the clips with your fingers so that the body of the light goes into the cut-out hole. Then push it all the way in, the springs will press the tabs and tightly fix the element on the ceiling. If the light bulb was not included, you need to insert it before fixing the light fixture.
- After completing the installation, check the operation of the light fixtures. If everything is done correctly, there will be no problems.
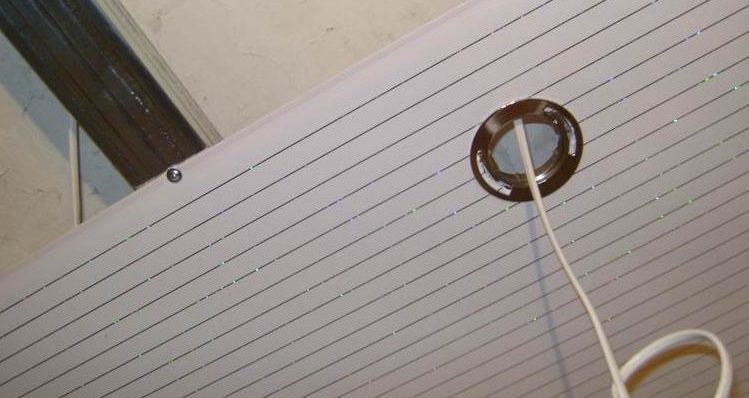
Important! If the work is carried out in a bathroom, toilet, kitchen or other room with fluctuations in humidity, it is better to choose luminaires luminaire of class IP44.
Installing lights in plastic panels is not difficult, if you prepare everything you need and understand the technology of installation. It is better to use a drill to cut the hole, then it will have a perfect shape. It is desirable to connect the wires with pads, not with twists and duct tape.
