How to make LED lighting in an aquarium
The lives of the inhabitants depend on the lighting in an aquarium. Lighting an aquarium means carefully selecting the correct light source. In addition to the brightness, the wavelength of the light flux must be taken into account.
Plants need a constant supply of the blue and red spectrum, but the wavelength must match the characteristics, which we will familiarize ourselves with in this article. A homemade aquarium light will allow you to select the optimal values for your underwater kingdom. Let's take a closer look at the intricacies of this remarkable work.
Illumination power and spectral range
[ads-quote-center cite='George Bernard Shaw']"Life is not about finding yourself. Life is about creating yourself."[/ads-quote-center]
Before you start calculating and selecting a light source, you should become familiar with the preferences of the aquarium inhabitants - this will help determine the intensity of lighting. Each plant and fish develops at different times of the day, so in some cases you have to turn on the red and blue spectrum at night and white at daytime, or vice versa.
Plant development requires lighting with a wavelength of 430-450 nanometers for blue (the value must strictly match the range, otherwise all efforts will not bring the desired effect), and 660 nanometers for red.
Luminous flux is measured in lumens (Lm) and brightness in lux (lx), therefore illuminance (E) is equal to luminous flux (F) / room area (S). A good illumination for an aquarium would be a luminous flux of 15-30 lm per liter of water.
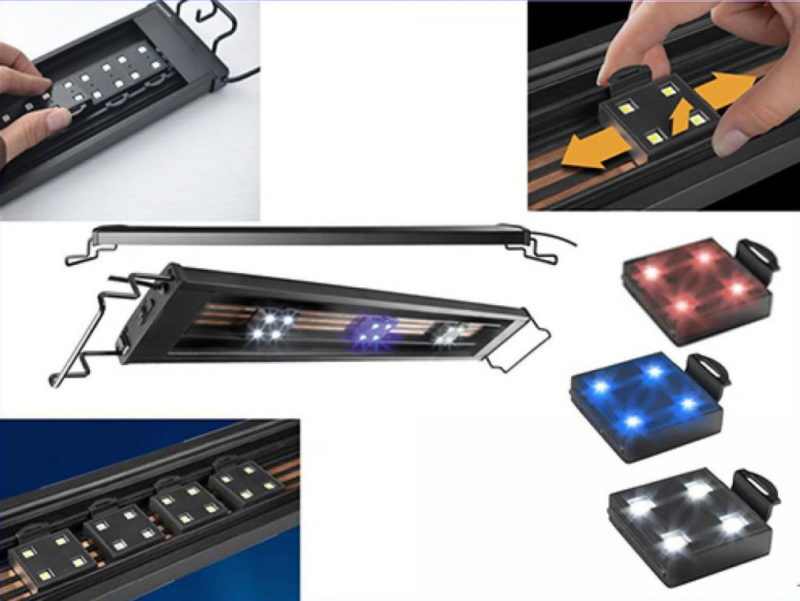
In order to get the light as bright as possible and have small dimensions, you need to choose LEDs or a strip of them with maximum brightness. If you are still undecided on the source of light (strip or individual LEDs), we can help - it does not matter, the only difference is the ease of installation and connection. With a strip it is much easier to make a light source.
A simplified example of light source calculation: We have already said that a good aquarium light needs 15-30 Lm of luminous flux per liter. When buying, pay attention to the specificationsThese are listed on the packaging of the LED strip or LED.
The average brightness of modern strips is about 1500 Lm, so you should divide 1500 by the average value, let's say 20, and get 1500/20 = 75 Lm. Therefore, 5 m of tape is sufficient to illuminate an aquarium with a capacity of 75 l. Don't forget that you will also be using blue and red light sources. They, too, will add illumination.
Calculated values overestimated, in practice proved that 10 m LED strip (5 m white and 2.5 m of red and blue), sufficient to illuminate 150-180 liters of aquarium. The power supply must be purchased together with the strip, because it is necessary to select the device appropriate capacity.
The controller allows you to turn on the tape in separate modes, changes the brightness and gives remote control of the lights. You can buy it in the same place as the strip. Think about whether you need it or not.
Making a lamp
Self-made lamp for the aquarium can be any shape, it is not necessary to adhere to certain criteria. The important point was the calculation, but we got acquainted with it and did not find anything difficult in it.
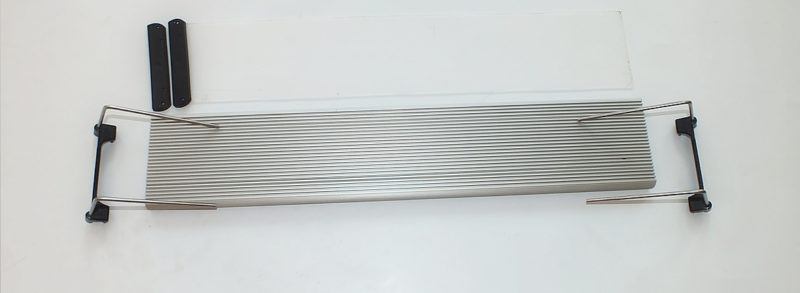
We will make a lamp on the basis of aluminum profile. There can be a lot of versions, we will just give you an example and show the sequence in which it is assembled.
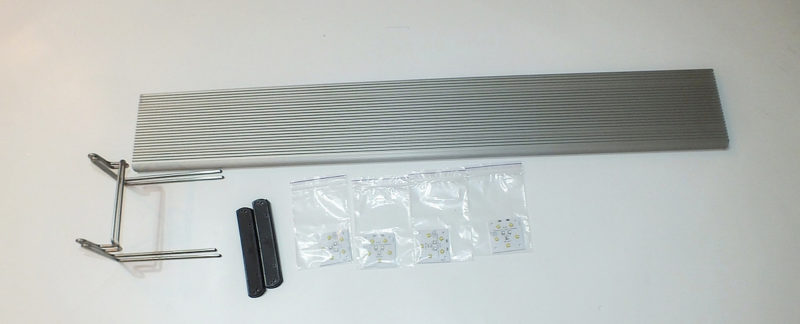
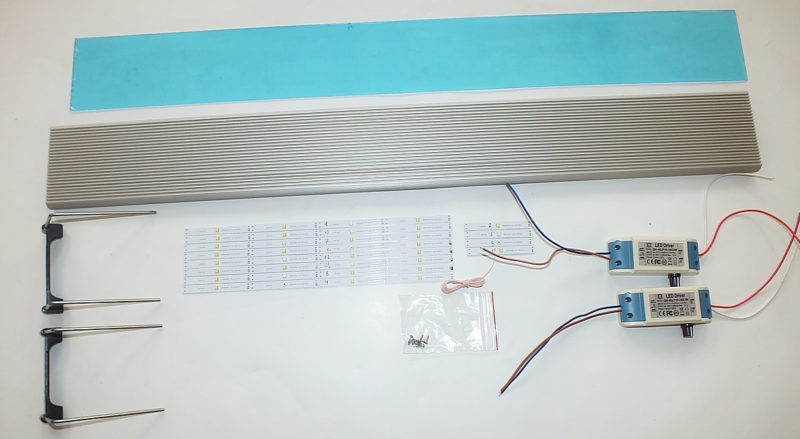
To begin, prepare the workplace and lay out everything you need. For installation we will need a housing (in this case, aluminum profile with transparent glass), a glue gun, screws, power supplyThe mounting brackets on the aquarium, the connection wires.
Home-made lamp for the aquarium is unique in that we can perform it using any type of LEDs. In the example we will combine. As the main source of light we use a white LED strip, it is bright enough and easy to fix. LED strip attaches with a sticky base. Just remove the tape and the back side becomes sticky.
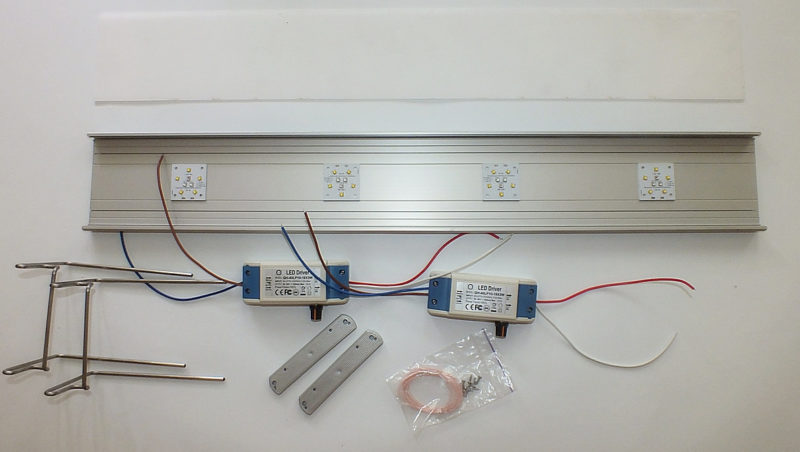
We managed to find LED boards with blue and red elements, which correspond to the desired wavelength. We will mount them in the middle of the profile. We mount with a glue gun. Before gluing, it is necessary to place all the elements on the board and make sure that all the parts fit well and are in their places.
Next Solder LED square boards to the power wires and fix them on the profile. The next step is to fix the LED strip and also perform the soldering of the wire.
In our case we use two power supplies, because it was necessary to turn on the blue and red spectrum separately only at night. The person for whom this light was made wanted to use a timer so that the algae in the aquarium develop better and faster, and this happens at night.
The timer is a small plastic device on which the desired start time is set. It has a socket, a screen and programming buttons. After setting the settings, you just need to connect the cord of the device to be started to the socket of the device. In our case it is the LED power supply.
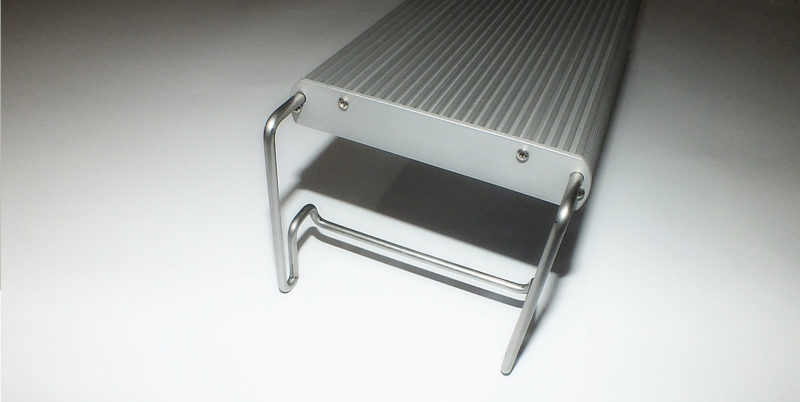
When all the elements are installed, move on to install the mounting brackets.
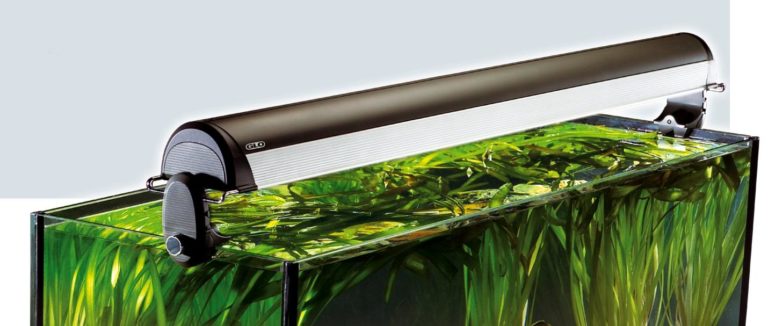
We were able to pick up the brackets in a hardware store, and a piece of unnecessary TV casing came in handy as a strip that stiffens them. When the work is done, the light fixture is covered with protective glass, which prevents water from getting into the electrical part. That's the kind of device we got:
As you can see, there is nothing complicated. This is quite a fascinating process that not only benefited, but also became an occasion to show off the work to friends and acquaintances, and of course to you, dear readers. Have a good start and good work!
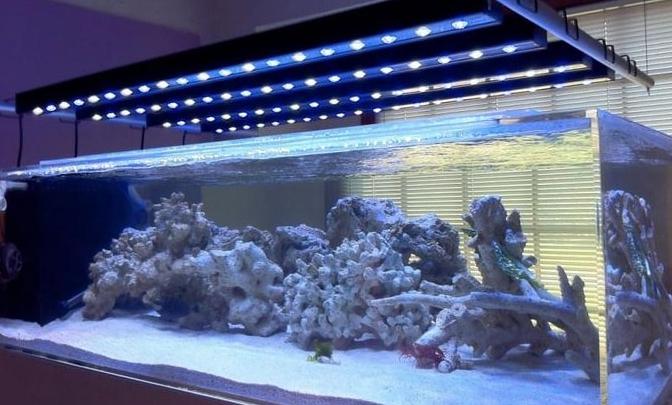
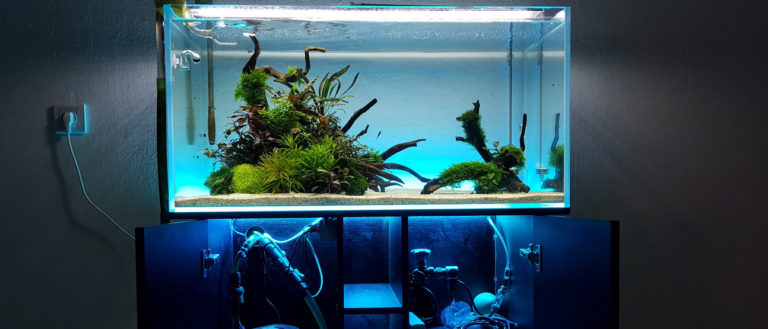
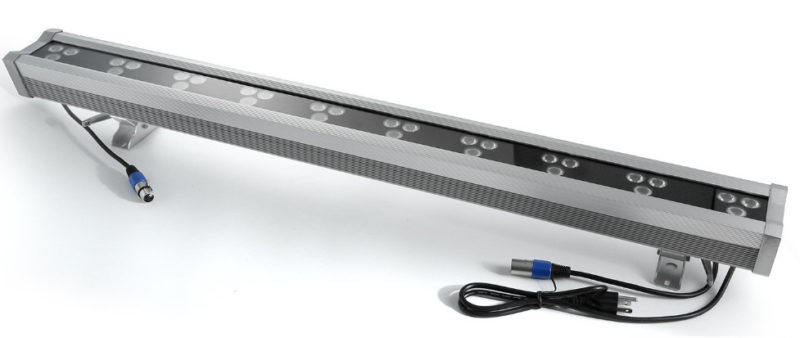
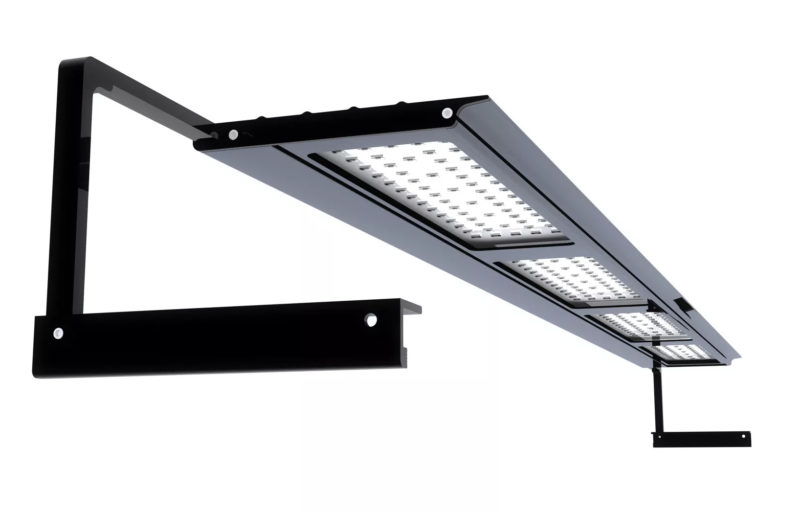
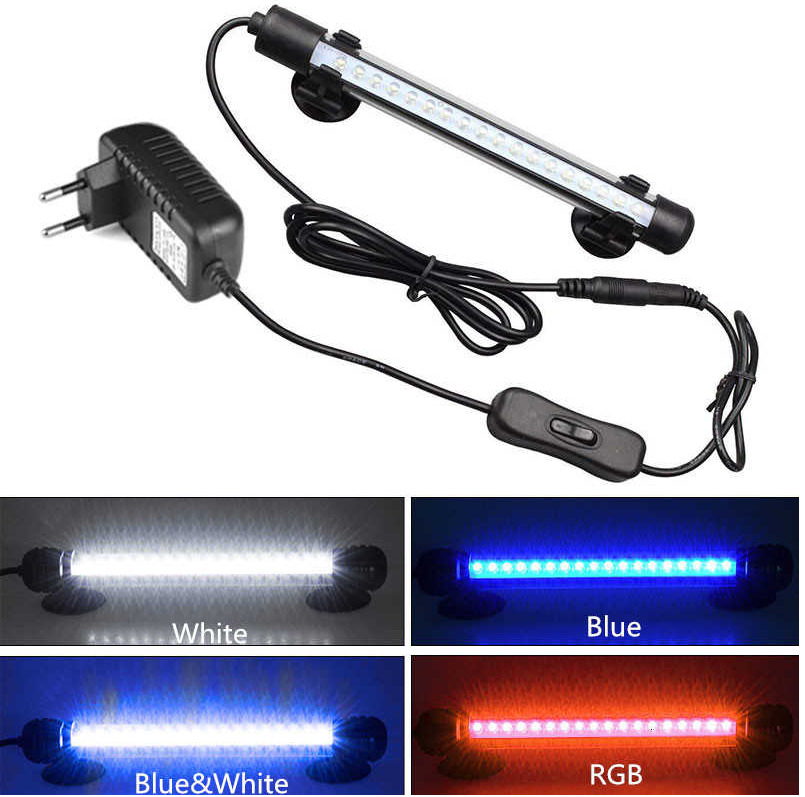
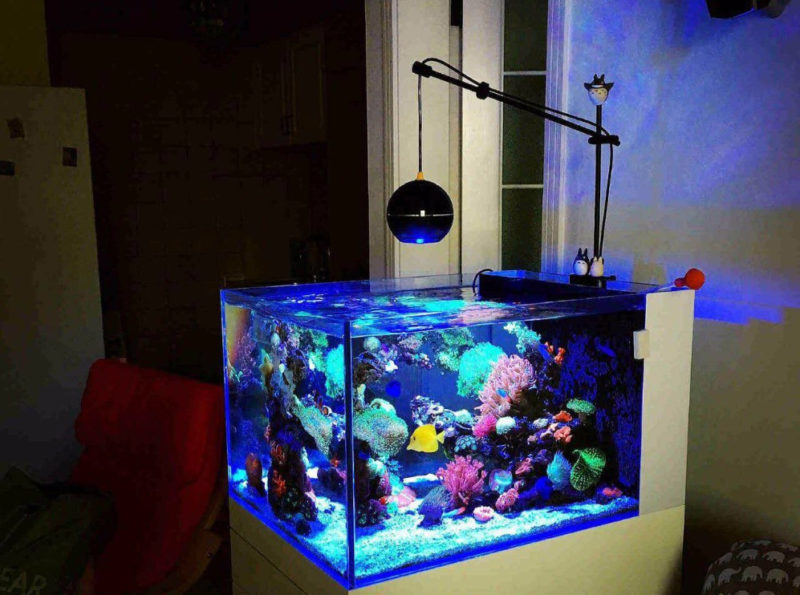
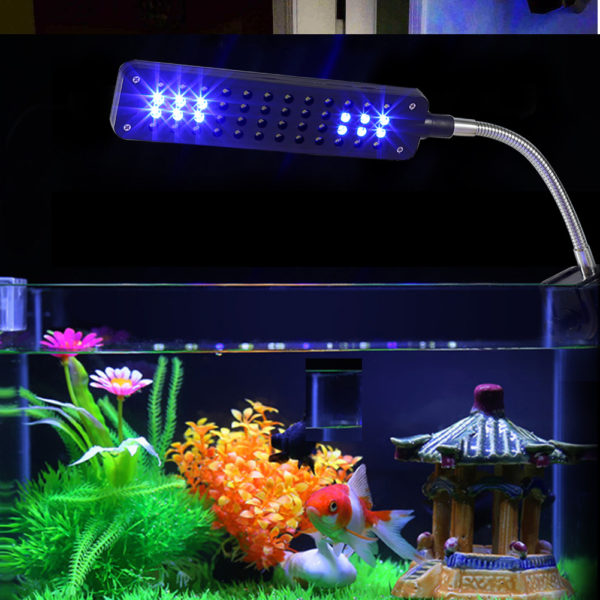
Options for inspiration
In brief about the essentials
We hope that our article has shown you how you can make a good and high-quality light fixture. The main thing is that the creation of the light fixture and its subsequent power consumption will not take a lot of money from the budget. Such a stylish and useful accessory will please you and your guests. Properly calculated lamps will create the best conditions for the development of your underwater inhabitants.
The video shows how to make a lamp with aluminum cable channel and LED strip.
If you have any thoughts or ideas on making homemade lights for the aquarium, leave your findings in the comments, we will be happy to supplement this article and tell other visitors useful information. Have a good time.
